


Get the Ultimate Daggerfall Experience Today: Tips and Tricks
How to have the best Daggerfall experience today Are you a fan of the classic RPG, The Elder Scrolls II: Daggerfall? Then you’re in luck! We have …
Read Article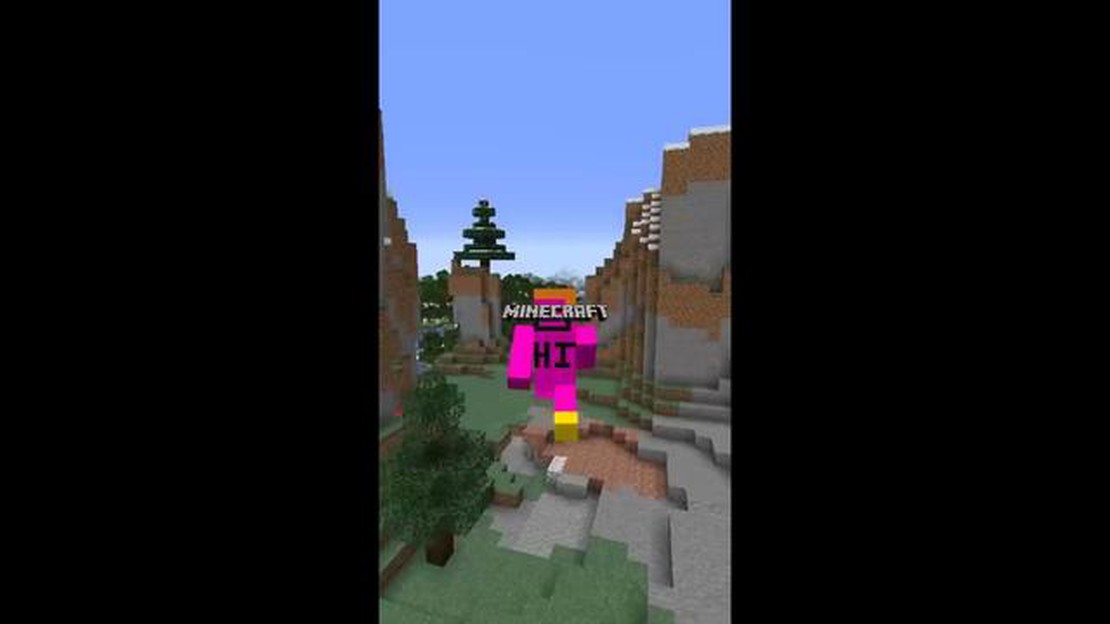
If you’re a fan of Minecraft, you’re probably excited about the latest update, version 1.17. This update, also known as the Caves & Cliffs update, brings a lot of new features and improvements to the game. From new blocks and mobs to updated terrain generation, there’s a lot to explore and discover.
In this step-by-step guide, we’ll walk you through the process of updating your Minecraft game to version 1.17. Whether you’re playing on PC, console, or mobile, the process is relatively straightforward, although there may be some differences depending on your platform.
Before you begin, it’s important to note that updating your Minecraft game will require an internet connection, as you’ll need to download the latest version of the game. Make sure you’re connected to a stable Wi-Fi or Ethernet network before you start the update process.
Step 1: Check for Updates
The first thing you’ll need to do is check if an update is available for your specific platform. If you’re playing on PC, open the Minecraft Launcher and look for any available updates. If you’re playing on console, check for updates in your system’s settings. And if you’re playing on mobile, go to the app store and look for any available updates for the Minecraft app.
Continued below…
Updating Minecraft to the latest version is an essential step to access new features, improvements, and bug fixes. If you’re looking to update your Minecraft game to version 1.17, here’s a step-by-step guide to help you through the process:
Remember to regularly update Minecraft to ensure you have the latest features and bug fixes. Enjoy your updated Minecraft experience!
Before updating Minecraft to version 1.17, it is highly recommended to backup your Minecraft data to prevent the loss of any progress or worlds. Follow these steps to backup your Minecraft data:
%appdata%\.minecraft, and press Enter.~/Library/Application Support/minecraft, and click Go.~/.minecraft, and press Enter.By backing up your Minecraft data, you will have a copy of your worlds, resource packs, and other game data in case anything goes wrong during the update process. With a backup, you can easily restore your Minecraft data to its previous state if necessary.
Read Also: How to Make a Pokemon Card: Step-by-Step Guide
Once you have backed up your game and checked your system requirements, it’s time to download the latest update for Minecraft. Follow these steps to get the update:
After clicking the “Play” button, the launcher will begin downloading the necessary files for the new update. The time it takes to download the update may vary depending on your internet connection speed. Once the download is complete, you can launch the game and start exploring the new features and improvements introduced in the latest Minecraft update.
Remember, it’s always a good idea to make sure you have a stable internet connection and sufficient storage space on your computer before downloading any updates.
Once you have downloaded the Minecraft 1.17 update file, you can proceed with installing it on your computer. Follow these steps to install the update:
Note: It is recommended to backup your existing Minecraft worlds and files before installing the update.
After launching Minecraft, the game should automatically detect the new update and apply it. You may need to wait for a few moments as the game updates and prepares for the new version.
Read Also: Ultimate Guide: How to Master Brody in Mobile Legends
Once the update is installed, you can start exploring the new features and improvements introduced in Minecraft 1.17. Enjoy playing the game with the latest version!
Once you have successfully updated Minecraft to version 1.17, it’s time to start playing the updated game. Here are a few steps to follow to get started:
Once the game loads, you will be able to explore the new features and content added in the Minecraft 1.17 update. Enjoy the updated version and have fun!
Yes, you can update Minecraft to version 1.17 even if you have an older version installed. You just need to follow the steps mentioned earlier in this article to create a new installation with the 1.17 version.
Updating Minecraft to version 1.17 should not affect your saved worlds and progress. However, it is always recommended to make a backup of your worlds before updating, just in case. You can find your worlds in the “saves” folder of your Minecraft directory.
Yes, there are several new features in Minecraft version 1.17. Some of the major additions include new biomes like the Lush Caves and Dripstone Caves, new mobs like the Axolotl and the Goat, and new blocks like Copper and Amethyst. There are also new gameplay mechanics and changes to world generation.
Whether you can play on multiplayer servers after updating to Minecraft version 1.17 depends on the server you want to join. Some servers may take longer to update to the latest version, so make sure to check if the server you are interested in supports version 1.17. If not, you may need to wait until they update or find a different server to play on.
No, updating Minecraft to version 1.17 does not require any additional payment. If you already own the game, you can update to the latest version for free through the Minecraft Launcher.
How to have the best Daggerfall experience today Are you a fan of the classic RPG, The Elder Scrolls II: Daggerfall? Then you’re in luck! We have …
Read Article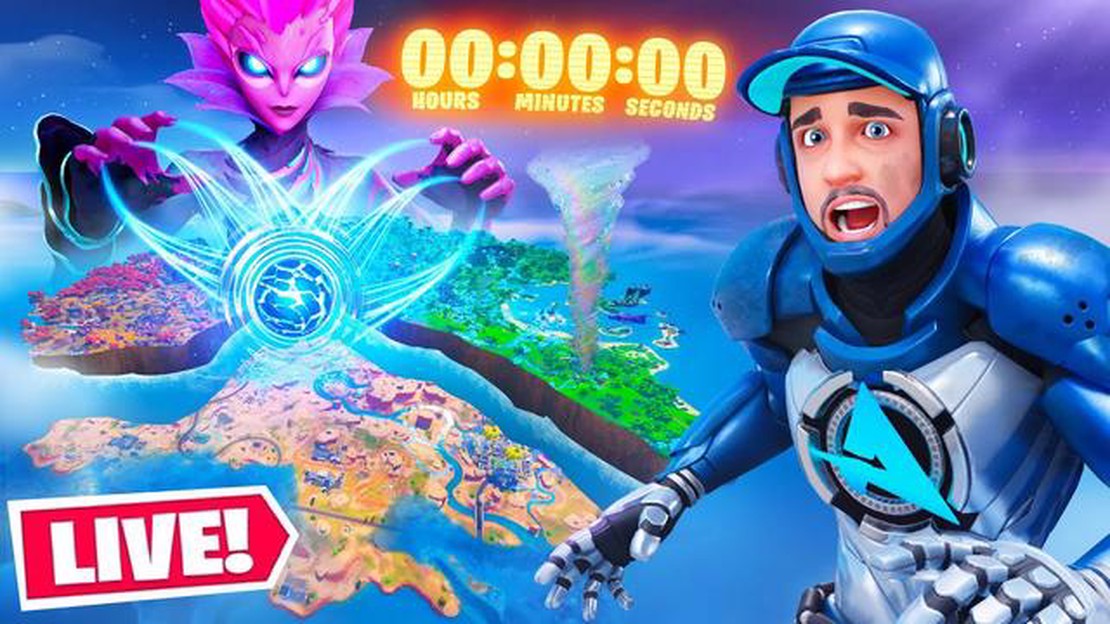
When Is The Fortnite Event Chapter 3? Fortnite fans around the world are eagerly anticipating the arrival of Chapter 3, and with it, a brand new event …
Read Article
Why Is Roblox So Laggy? Roblox is a popular online platform that allows users to create and play games. However, one common issue that many players …
Read Article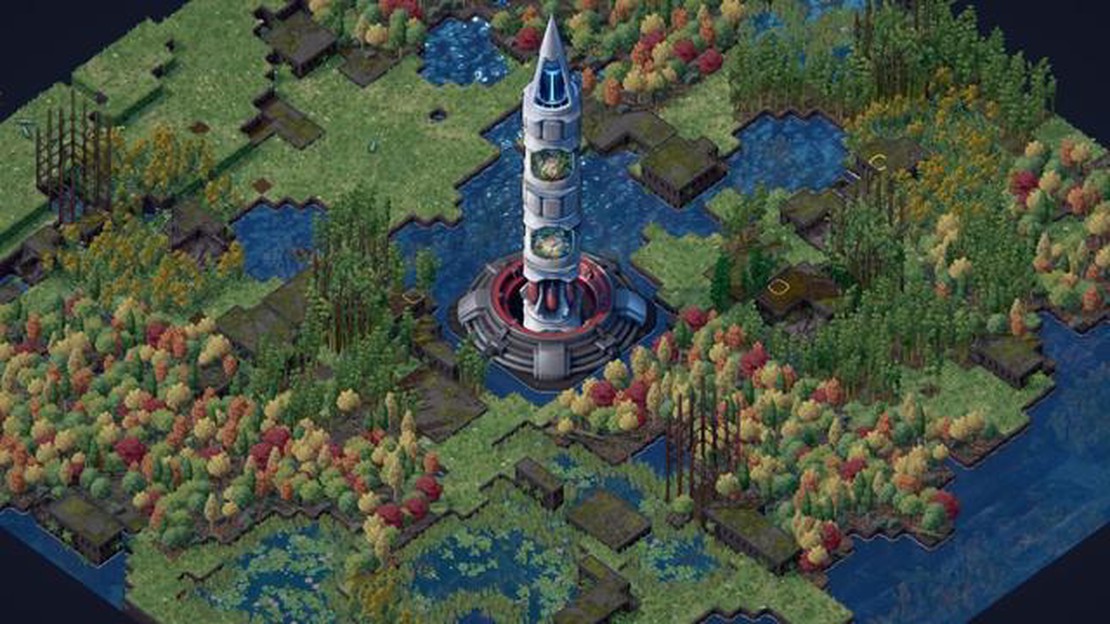
Terra Nil review Terra Nil is a unique city-building game that puts a twist on the genre by focusing on sustainability and restoration. Instead of …
Read Article
Mobile Legends Why Do I Lose Build? Mobile Legends is a popular multiplayer online battle arena (MOBA) game that has gained a huge following since its …
Read Article
Names for Fortnite of anime Are you a fan of both anime and Fortnite? Do you want to stand out in the world of online battles with a unique alias? …
Read Article


