
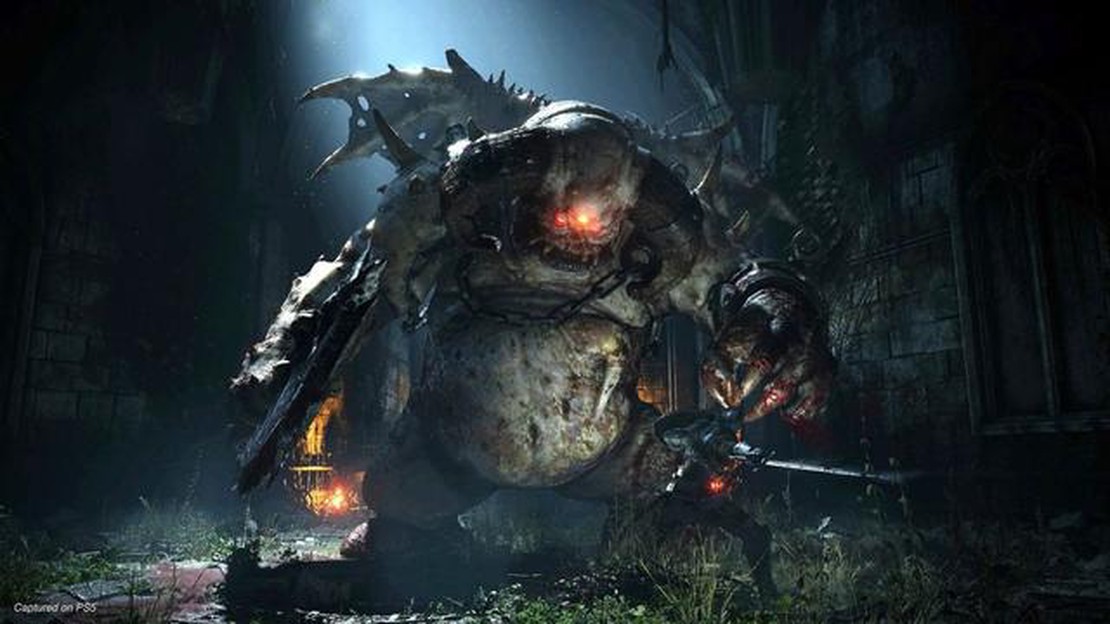

Is the Demon's Souls Remake Coming to PC? Here's What We Know
Is the Demon’s Souls remake coming to PC? Here’s what we know The Demon’s Souls Remake, an eagerly anticipated release for PlayStation 5, has fans of …
Read Article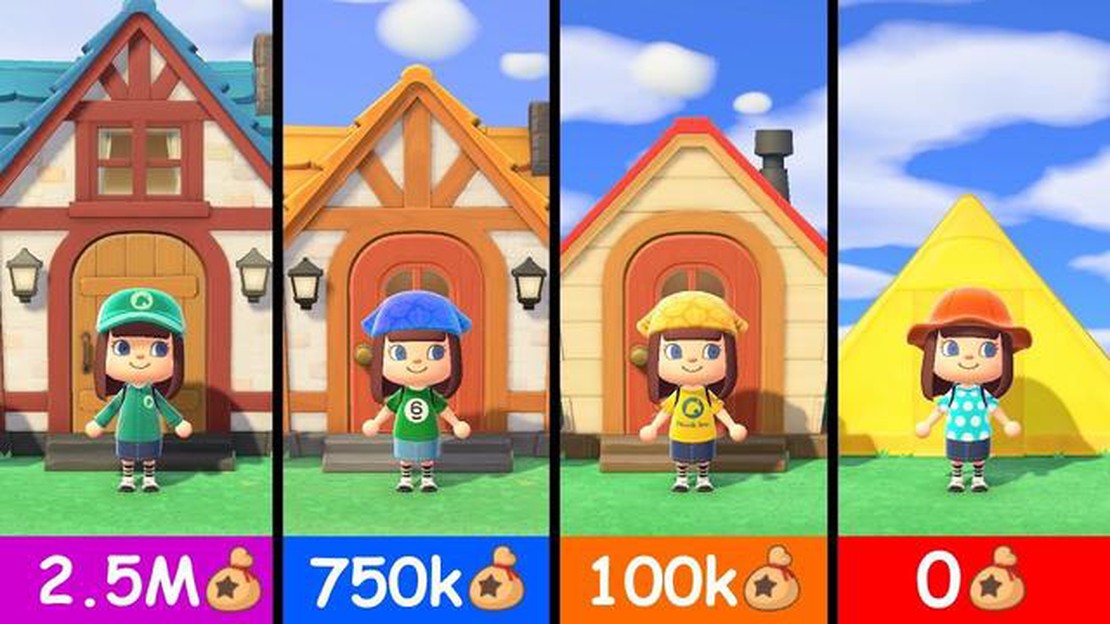
If you’re a fan of Animal Crossing, you know that one of the most exciting aspects of the game is customizing and upgrading your house. As you progress in the game, you’ll unlock new options for expanding and renovating your humble abode. This step-by-step guide will walk you through the process of upgrading your house in Animal Crossing, so you can create the perfect home for your virtual life.
First, you’ll need to gather the necessary resources and funds. The first upgrade will cost you 98,000 Bells, so make sure you have enough savings. You can earn Bells by selling items, catching fish and bugs, or participating in events and tasks. Once you have enough money, head to the Residential Services building where you’ll find Tom Nook, the friendly raccoon who can help you upgrade your house.
Once you’ve talked to Tom Nook, he’ll give you the option to upgrade your house. He’ll show you a model of the upgraded house and ask for your confirmation. If you’re happy with the design, go ahead and authorize the upgrade. Tom Nook will give you a construction kit that you can place anywhere on your island. Once you’ve chosen the perfect spot, the upgrade process will begin.
The construction will take one day to complete. During this time, you won’t have access to your house, so make sure you have any items you need beforehand. Once the construction is finished, your house will be bigger and have a new layout. You can then start decorating your expanded space with furniture, wallpapers, and flooring to make it truly your own.
Remember, upgrading your house is just the beginning of your customization journey in Animal Crossing. As you continue to play the game, you’ll have even more options for expanding and decorating your home. So don’t be afraid to get creative and make your house a reflection of your unique style and personality!
Before you can start upgrading your house in Animal Crossing, there are a few things you need to do to prepare. Follow these steps to ensure a smooth and successful house upgrade process.
By following these steps and preparing your house for upgrades, you’ll be well on your way to creating the perfect home in Animal Crossing.
Keeping your house clean and organized in Animal Crossing is essential for creating a comfortable and aesthetically pleasing living space. Here are some tips and steps to help you achieve a clean and tidy house:
By following these steps and maintaining a clean and organized house, you’ll create a more enjoyable and inviting living environment in Animal Crossing.
Upgrading your house in Animal Crossing can be an expensive endeavor. However, with some careful planning and saving, you’ll be able to afford those upgrades in no time. Here are some tips for saving Bells for your house upgrades:
Remember, saving Bells for your house upgrades may take time and patience, but it will be worth it in the end. By following these tips and staying focused on your goal, you’ll soon have the house of your dreams in Animal Crossing.
Read Also: Get Call Of Duty World At War For Free On Steam - A Step By Step Guide
Upgrading your house in Animal Crossing is an essential part of the game. Not only does it give you more storage space, but it also allows you to customize your home and unlock new features. In this step-by-step guide, we will walk you through the process of upgrading your house.
The first step to upgrading your house is paying off your initial loan. When you first start the game, you will be given a small house loan that you need to repay to Tom Nook. You can do this by selling items, catching bugs or fish, or completing tasks for villagers.
Once you have paid off your initial loan, talk to Tom Nook to discuss upgrading your house. He will give you options for expanding your home and will provide you with the necessary loan amount.
After you have discussed the upgrade with Tom Nook, you will need to collect the required materials. These materials can vary depending on the upgrade. They may include wood, iron nuggets, stone, or other resources. You can gather these materials by shaking trees, hitting rocks with a shovel, or purchasing them from the store.
Read Also: What Does ABC Mean in Roblox? - Find Out the Meaning of ABC in Roblox Guide
Once you have collected the required materials, return to Tom Nook and pay off the loan. This will initiate the construction process for your upgraded home.
After paying off the loan, you will need to wait for the construction to finish. This may take a day or two in real-time. You can track the progress by checking the construction site for your new home.
Once the construction is complete, you can enjoy your upgraded house. Your storage space will increase, and you will have more room to decorate and customize your home. You can continue to upgrade your house by talking to Tom Nook and repeating the process.
Follow these steps to upgrade your house in Animal Crossing and create the perfect home for your character. With each upgrade, you’ll unlock new opportunities for customization and make your island a true reflection of your own style and personality!
You can upgrade your house in Animal Crossing by talking to Tom Nook and asking him about upgrading. He will give you options for additional rooms and expansions, and you can choose which upgrades you want to purchase.
To unlock the ability to upgrade your house in Animal Crossing, you need to progress through the game and complete certain tasks. Tom Nook will provide you with opportunities to upgrade as you reach certain milestones, such as paying off your initial loan and completing certain tasks for the residents of your island.
Upgrading your house in Animal Crossing provides several benefits. Firstly, you get additional storage space, which allows you to collect and store more items. Secondly, you can increase the size of your rooms, giving you more living space and allowing you to decorate and customize your house to your liking. Lastly, upgrading your house contributes to the overall progress and development of your island.
The cost of upgrading your house in Animal Crossing varies depending on the type of upgrade you choose. The initial loan to purchase a house is 49,800 Bells, but subsequent loans for upgrades can be more expensive. The cost of each upgrade also depends on the size of the expansion or addition you choose.
Yes, there are requirements and prerequisites for upgrading your house in Animal Crossing. These include paying off your initial loan to Tom Nook and completing certain tasks, such as gathering specific materials or meeting certain residents on your island. Tom Nook will provide you with the necessary information and requirements when you express interest in upgrading.
Yes, you can customize the appearance of your house when you upgrade it in Animal Crossing. You can choose different wallpapers, flooring, and furniture to give your house a personal touch and make it unique to your taste. You can also expand and rearrange rooms to create the layout that you desire.
Is the Demon’s Souls remake coming to PC? Here’s what we know The Demon’s Souls Remake, an eagerly anticipated release for PlayStation 5, has fans of …
Read Article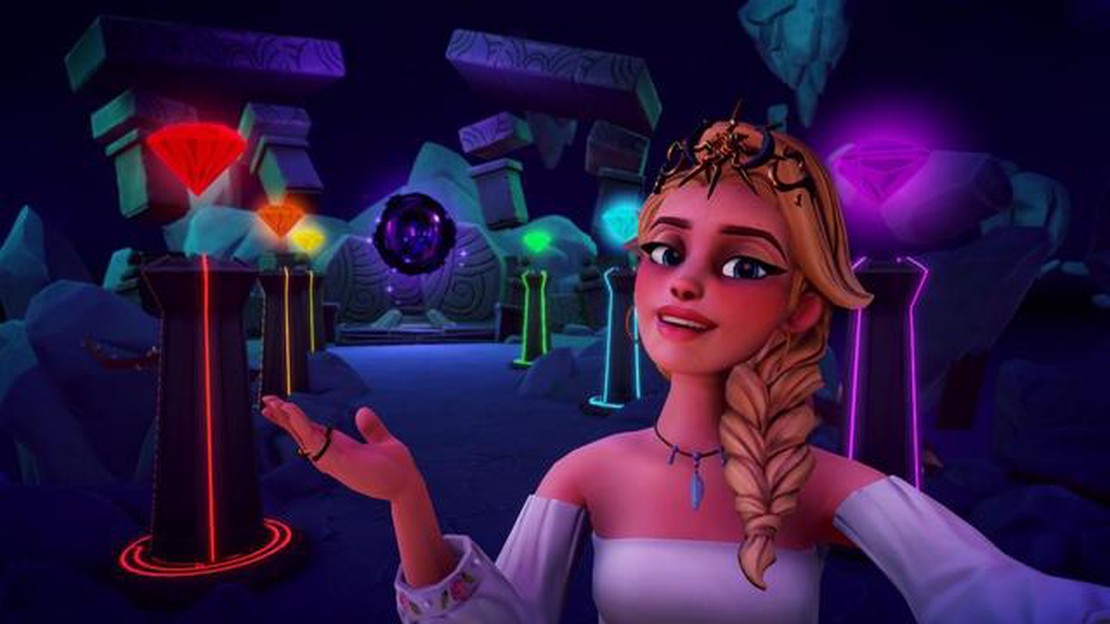
How to solve the Great Blizzard gem puzzle in Disney Dreamlight Valley Welcome to Disney Dreamlight Valley, where adventure awaits! In this exciting …
Read Article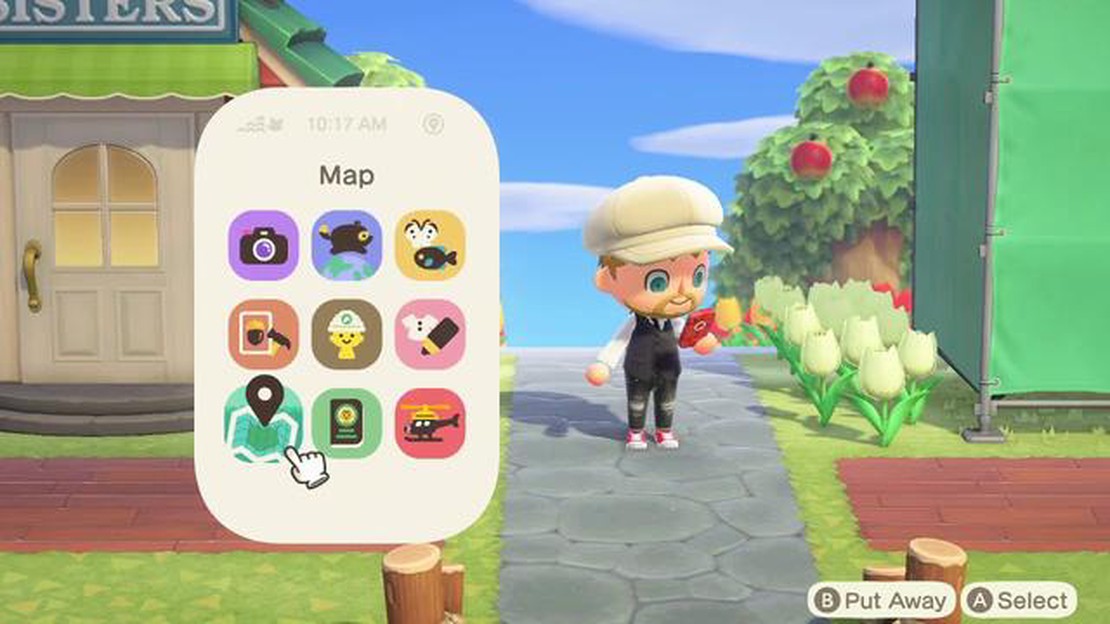
How Many Villagers Can You Have In Animal Crossing? Animal Crossing is a charming life simulation video game that allows players to create their own …
Read Article
How To Turn Off Roblox Safe Chat? Roblox is a popular online gaming platform that allows players to create and play games created by other users. With …
Read Article
Razer Hammerhead True Wireless X gaming earbuds Review The Razer Hammerhead True Wireless X gaming earbuds are the latest addition to Razer’s lineup …
Read Article
Access secret areas and locked chests by fixing the Jedi: Fallen Order Scomp Link Star Wars Jedi: Fallen Order is an action-packed video game that …
Read Article


