


Discover Leah Ashes Roblox Password for 2022
What Is Leah Ashes Roblox Password 2022? Do you want to know Leah Ashe’s Roblox password for 2022? Well, you’re not alone! Leah Ashe is one of the …
Read Article
Animal Crossing is a beloved video game series that allows players to create and customize their own virtual paradise. One of the most exciting aspects of the game is the ability to upgrade your house, making it bigger and more beautiful with each progression. If you’re a newbie to the game or simply looking for some tips on how to take your house to the next level, this ultimate guide is for you.
To start upgrading your house in Animal Crossing, you’ll need to gather enough resources and Bells, the in-game currency. Bells can be earned by selling items, catching and selling fish and bugs, or completing tasks for the game’s adorable animal villagers. Once you have enough Bells, head over to Tom Nook’s Resident Services and speak with him about upgrading your house.
In order to upgrade your house, you’ll need to pay off your existing mortgage. Tom Nook will provide you with a task or series of tasks to complete in order to earn enough Bells to pay off your loan. This can include tasks such as catching a specific number of fish, planting and growing certain types of flowers, or even refurbishing furniture for your fellow villagers. Once you’ve completed the necessary tasks, return to Tom Nook to pay off your loan and begin the upgrade process.
Each house upgrade in Animal Crossing comes with a larger floor plan, allowing you to add more rooms and expand your living space. You’ll have the option to choose the layout and placement of the new rooms, giving you the freedom to design your dream home. Additionally, you’ll have the ability to customize your house’s exterior, selecting different wallpapers, roof colors, and door designs to suit your personal style.
Upgrading your house in Animal Crossing is not only a practical step to gain more storage space and create a better living environment, but it’s also a fun and creative way to express yourself. So gather your resources, complete tasks, and start building the house of your dreams in Animal Crossing!
Welcome to the ultimate guide on how to upgrade your house in Animal Crossing! As you progress through the game, you’ll find that upgrading your house is an essential part of making your island feel like home. This guide will walk you through all the steps and requirements needed to upgrade your house to its fullest potential.
When you first start the game, you’ll have a small tent as your house. To upgrade to a proper house, you’ll need to pay off your initial debt to Tom Nook. This can be done by collecting and selling items, catching insects or fish, and completing tasks for other villagers on your island.
Once you’ve paid off your initial debt, talk to Tom Nook to discuss upgrading your house. He will provide you with options for upgrades, each offering more space and additional features. Choose the upgrade that suits your needs and budget.
To upgrade your house, you’ll need to collect specific materials. These materials typically include wood, iron nuggets, and other resources that can be found on your island or obtained by trading with villagers. Make sure to stock up on these materials before proceeding.
After collecting the necessary materials, return to Tom Nook and pay off the upgrade cost. This will vary depending on the size and features of the upgrade you’ve chosen. You can pay off the cost using Bells, the in-game currency.
Once you’ve paid off the upgrade cost, construction will begin on your house. This typically takes a day in real-time, so be patient and wait for the construction to complete. You can check the progress by talking to Tom Nook or by visiting your house site.
Once the construction is finished, you can now enjoy your upgraded house! You’ll have more space for furniture, new rooms to decorate, and additional customization options. Let your creativity shine and make your house a reflection of your personal style.
Read Also: Hello Games' next project: Not a No Man's Sky sequel, but equally ambitious
With this ultimate guide, you’re now equipped with the knowledge and steps to upgrade your house in Animal Crossing. Follow these steps, unleash your creativity, and create the house of your dreams on your island!
Before you can begin upgrading your house in Animal Crossing, you need to make sure you have everything in order. Follow these steps to prepare your house for upgrades:
Read Also: Learn the Easy Steps to Hack a Roblox Account
Once you have completed these steps, you’ll be ready to begin upgrading your house in Animal Crossing. Just speak to Tom Nook or the home upgrade representative to get started on your renovations!
One of the key resources you’ll need to upgrade your house in Animal Crossing is Bells. Bells are the in-game currency and can be earned through various methods. Here are a few ways to earn Bells for upgrading your house:
By utilizing these methods, you can steadily accumulate Bells to upgrade your house in Animal Crossing. Keep exploring, interacting with villagers, and participating in events to maximize your earnings!
Upgrading your house in Animal Crossing is an exciting and rewarding experience. Not only will you be able to expand your living space, but you’ll also have the opportunity to customize your house to reflect your personal style. Here are some steps to help you choose and customize your upgrades.
Remember, upgrading your house is a personal journey, and there’s no right or wrong way to do it. Take your time, explore different options, and have fun creating a space that you love.
To upgrade your house in Animal Crossing, you need to speak with Tom Nook at the Residential Services building. He will offer you different house upgrades, such as additional rooms and increased storage space. These upgrades come at a cost, so make sure you have enough Bells to cover the expenses.
There are several benefits to upgrading your house in Animal Crossing. Firstly, you will have more space to decorate and place furniture, allowing for more creative freedom. Secondly, you will have increased storage space, which is essential for collecting and storing various items. Lastly, upgrading your house can also improve your overall town rating.
The cost of upgrading your house in Animal Crossing depends on the specific upgrade you choose. The first upgrade, which adds an additional room, costs 98,000 Bells. Subsequent upgrades will cost even more, so be prepared to save up a significant amount of Bells.
Yes, you can customize the exterior of your house in Animal Crossing. After upgrading your house to have multiple rooms, you will have the option to customize the outside walls, roof, door, and mailbox. This allows you to personalize your house and make it stand out in your town.
While there are no specific restrictions on upgrading your house in Animal Crossing, you will need to have the necessary funds to cover the cost of the upgrades. Additionally, some upgrades may require certain conditions to be met, such as having a certain number of villagers in your town or reaching a certain town rating. Make sure to check with Tom Nook for the specific requirements of each upgrade.
What Is Leah Ashes Roblox Password 2022? Do you want to know Leah Ashe’s Roblox password for 2022? Well, you’re not alone! Leah Ashe is one of the …
Read Article
How To Use Loom Minecraft? Welcome to the ultimate guide on how to use the loom in Minecraft! The loom is a useful tool that allows players to …
Read Article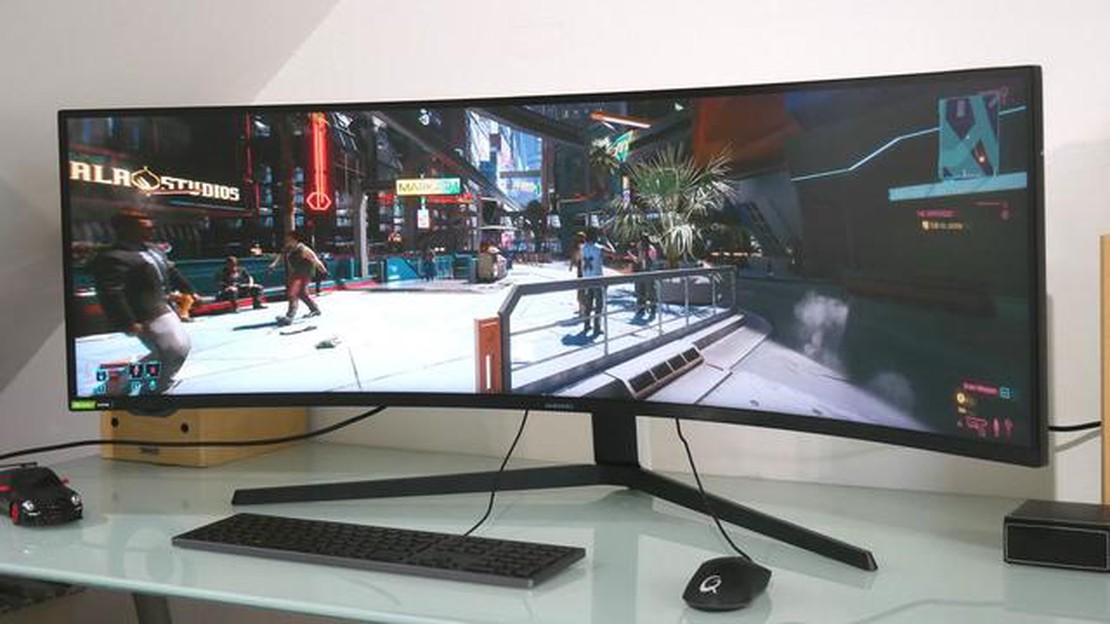
Samsung Odyssey G9 gaming monitor review The Samsung Odyssey G9 gaming monitor is a true powerhouse that offers gamers the ultimate gaming experience. …
Read Article
When Is The Next Fortnite Update? Fortnite, the popular online video game, has seen a meteoric rise in popularity since its release in 2017. With its …
Read Article
How Many Pet Levels Are There In Coin Master? Coin Master is a popular mobile game where players spin a virtual slot machine to earn coins and build …
Read Article
Expect Are you prepared for the unexpected? In life, we are often faced with experiences, anticipations, and surprises that catch us off guard. …
Read Article


