

Discover the Power of the Dark Iron Sword in Genshin Impact
Dark Iron Sword Genshin Impact Are you ready to wield a weapon that will truly make you unstoppable in the world of Genshin Impact? Look no further …
Read Article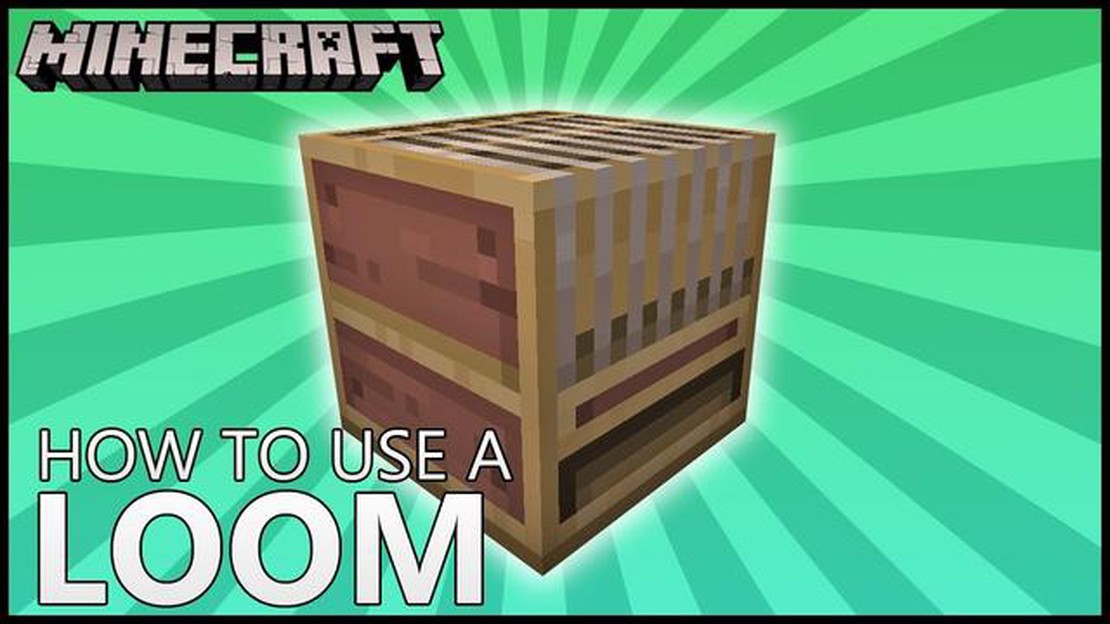
Welcome to the ultimate guide on how to use the loom in Minecraft! The loom is a useful tool that allows players to customize banners in the game. By using different patterns and colors, you can create unique designs to personalize your world.
In this guide, we will walk you through the easy steps of using the loom in Minecraft. Whether you’re a beginner or an experienced player, this guide will help you master the art of banner customization.
Step 1: Crafting the Loom
The first step in using the loom is crafting it. To do this, you will need to gather the following materials:
• 2 wooden planks
• 2 string
• 1 wool
Once you have obtained these materials, open your crafting table and arrange them in the following pattern:
• String • String • String
• Wooden Plank • Wool • Wooden Plank
• Wooden Plank • Wooden Plank • Wooden Plank
Drag the loom into your inventory to complete the crafting process.
Step 2: Placing the Loom
After crafting the loom, you can place it anywhere in your world. Simply select it from your inventory and right-click on a block to place it down. You can place the loom both indoors and outdoors, as long as there is enough space for it.
Step 3: Using the Loom
Now that you have placed the loom, you can start using it to customize your banners. Right-click on the loom to open the menu. This menu will display all the different patterns and colors that you can choose from.
Use the arrow buttons to browse through the available options. Once you find a pattern or color that you like, click on it to select it. You can also combine multiple patterns and colors to create complex designs.
Step 4: Applying the Design
After selecting your desired patterns and colors, you can apply them to your banner. To do this, drag the banner into the slot on the left side of the loom and the pattern or color into the slot on the right side. The loom will then combine the two, and your customized banner will appear in the output slot on the bottom-right corner of the menu.
Once you are satisfied with your design, simply click on the banner in the output slot to take it. You can now place the banner in your world or use it as decoration in your buildings.
Read Also: How Many Missions Are In Call Of Duty: Advanced Warfare? - Find Out Here!
Congratulations! You have now learned how to use the loom in Minecraft. With this knowledge, you can create countless unique banners to enhance your gameplay experience. Happy crafting!
The loom is a crafting station in Minecraft that allows players to create custom banners, patterns, and flag designs. In this ultimate guide, we will walk you through the easy steps to use the loom in Minecraft.
Read Also: Ultimate Guide: How to Sell Your Brawl Stars Account for Maximum Profit7. Step 3: Open the loom GUI. To access the loom’s interface, right-click on the placed loom. 8. Step 4: Add the banner to the loom. To add a banner to the loom, drag and drop it from your inventory into the banner slot in the loom interface. 9. Step 5: Add optional dye or pattern. If you want to color your banner, you can add dye to the dye slot in the loom interface. If you have a pattern you want to apply, you can add it to the pattern slot. 10. Step 6: Select a design. Click on the available design options displayed in the loom interface to select a design for your banner. You can choose from various patterns and designs. 11. Step 7: Craft the banner. Once you are satisfied with your design, click on the craft button in the loom interface to create the customized banner.
That’s it! You have successfully used the loom in Minecraft to create a custom banner. You can now use your new banner to decorate your world or display it proudly in your base.
Remember, the loom offers endless possibilities for creating unique banners, so don’t be afraid to experiment and unleash your creativity!
Before you start using a loom in Minecraft, you will need to gather some materials. Here is a list of what you will need:
Make sure you have all the necessary materials before attempting to use the loom in Minecraft.
To craft a loom in Minecraft, you will need the following materials:
Follow these steps to craft a loom:
Note: The placement of the materials in the crafting table is important. Make sure to follow the pattern exactly as shown in the steps above to craft a loom.
Once you have successfully crafted the loom, you can use it in your Minecraft world for various purposes such as creating banners and patterns. Enjoy experimenting with this useful crafting item!
Once you have crafted a loom, you can place it down in your desired location in your Minecraft world.
Once you have placed the loom, you can start using it to create various patterns and designs.
Note: Make sure there is enough space around the loom for you to move and interact with it easily.
The Loom is a crafting station in Minecraft that allows you to create various decorative banners, patterns, and flags. It is particularly useful if you want to customize your shields or add unique designs to your world.
To craft a loom in Minecraft, you will need two string and two planks of any type. The string can be obtained by killing spiders or by breaking cobwebs. The planks can be made by placing any type of wood in a crafting table. Once you have these materials, you can craft a loom by arranging them in a 2x2 crafting grid. Place the planks in the top row and the string in the middle row, and you will get a loom.
The loom is available in Java Edition, Bedrock Edition, PlayStation 4 Edition, and Nintendo Switch Edition of Minecraft. However, it is not available in the legacy console editions (Xbox One Edition, PlayStation 3 Edition, Xbox 360 Edition, Wii U Edition), as well as the Education Edition. So, if you are playing on any of the supported editions, you can use the loom to modify items and create banners.
Dark Iron Sword Genshin Impact Are you ready to wield a weapon that will truly make you unstoppable in the world of Genshin Impact? Look no further …
Read Article
How to Summon 119 on Among Us Among Us, the popular online multiplayer game, allows players to take on the roles of crew members or impostors on a …
Read Article
What Fortnite Skin Are You? Are you a Fortnite fan who dreams of having their own unique skin to show off in the game? Well, now you can discover your …
Read Article
How To Quit Clash Of Clans? Are you spending too much time playing Clash of Clans and finding it difficult to focus on other important aspects of your …
Read Article
How To Make A Minecraft Server For Free? If you’re a Minecraft enthusiast and want to play the game with your friends, creating your own Minecraft …
Read Article
Warframe Gauss guide Gauss is the latest addition to the roster of Warframes in the popular online action game, Warframe. Known as the Speedster …
Read Article


