
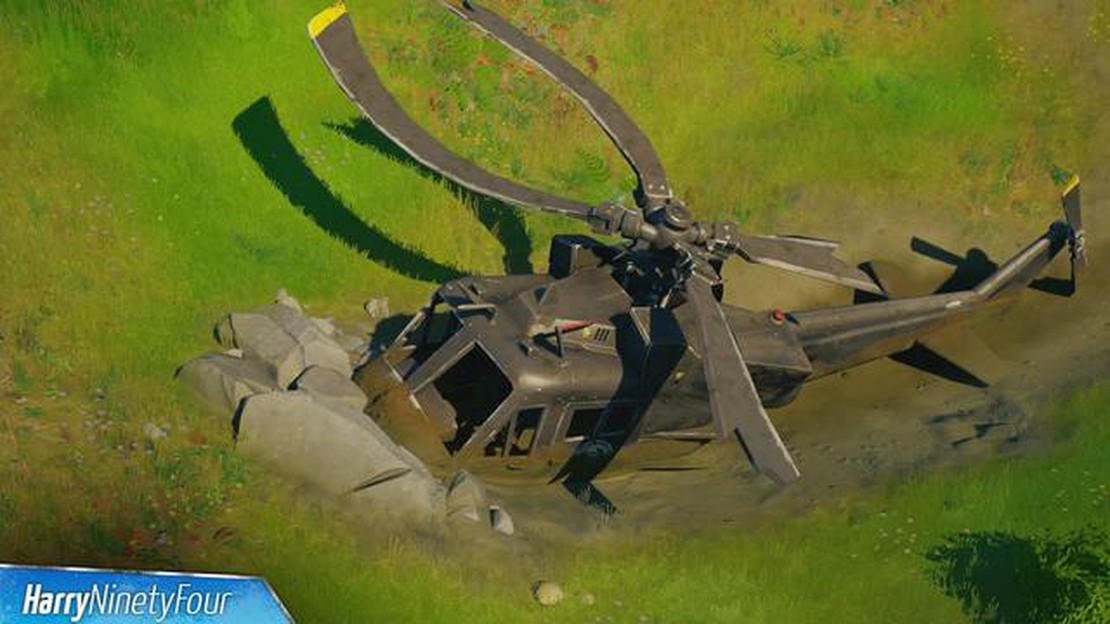

Discover the Hidden Location of the Black Helicopter in Fortnite
Where Is The Black Helicopter In Fortnite? Fortnite, the popular battle royale game, is known for its hidden secrets and Easter eggs. Players …
Read Article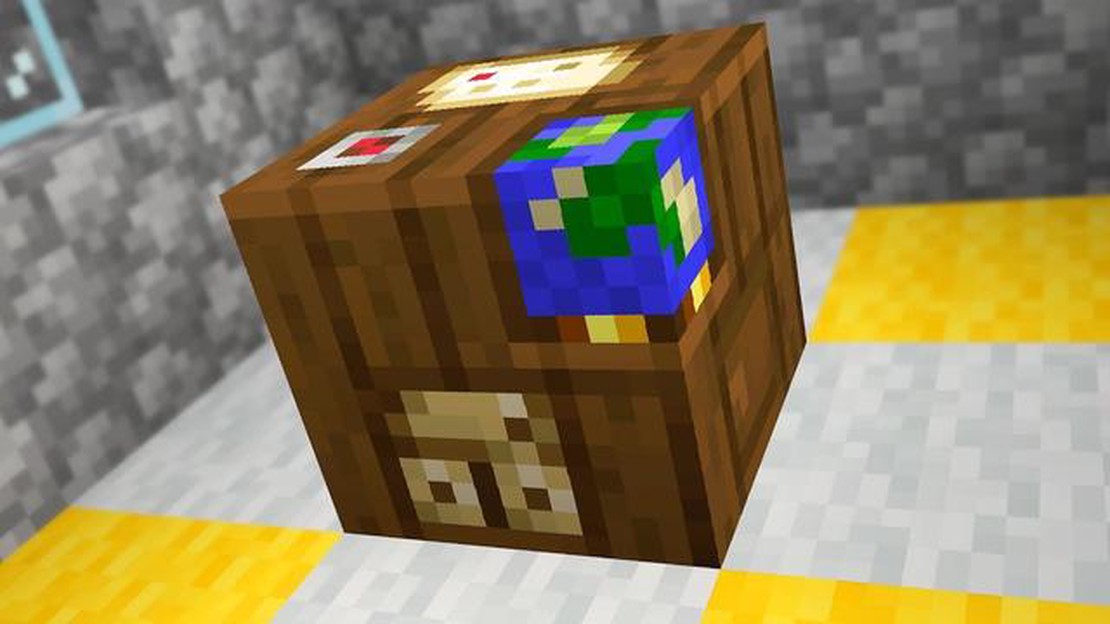
If you are an avid Minecraft player, you may have come across the cartography table. This useful block allows you to create and modify maps, making it an invaluable tool for exploration and navigation. Whether you are a beginner or an experienced player, learning how to use the cartography table can greatly enhance your gameplay experience.
The first step in using a cartography table is to craft one. To do this, you will need four planks of any type of wood and two pieces of glass. Place these materials in a crafting table in the following pattern: place the planks in a square in the corners, and place the glass in the middle row. Once you have crafted a cartography table, you can place it in your Minecraft world.
To use the cartography table, you will need an empty map. If you don’t have one, you can easily craft it using paper and a compass. Place the paper in the center slot of the crafting table and the compass in the bottom slot. This will create a map item that you can use with the cartography table.
Once you have your empty map, simply interact with the cartography table by right-clicking on it. This will open the cartography interface, where you can see your map and the available options for modification. You can zoom in and out on the map, copy it, lock it, and even create a locator map by adding a compass to it. Experiment with these options to customize your map to suit your needs.
If you want to create a custom map, you can insert a banner into the cartography table along with the empty map. This will apply the banner’s design to the map, creating a unique and personalized map.
Using a cartography table in Minecraft is not only practical but also adds a level of creativity to your gameplay. By knowing how to use this block effectively, you can enhance your exploration and navigation skills, as well as create stunning custom maps. So, grab your materials and start crafting your cartography table today!
The Cartography Table is a useful tool in Minecraft that allows players to create and modify maps. It can be used to clone, scale, and lock maps, as well as add markers and labels to maps. To get started with a Cartography Table, follow these steps:
The Cartography Table is a versatile tool that can greatly enhance your exploration in Minecraft. Whether you want to create detailed maps of your world or mark important locations, the Cartography Table is an essential item for any seasoned Minecraft player.
In order to craft a Cartography Table in Minecraft, you will need the following items:
Once you have gathered these materials, you can follow these steps to craft a Cartography Table:
Now that you have crafted a Cartography Table, you can use it to create maps and explore new areas in Minecraft.
The cartography table is a useful tool in Minecraft that allows players to create and modify maps. It is primarily used by players who want to create detailed maps of their Minecraft worlds. In this guide, we will explain how to use the cartography table and explore its various features.
To create a map using the cartography table, you will need the following materials:
Read Also: How To Make Custom Banners In Minecraft: A Step-By-Step Guide
Once you have gathered these materials, follow these steps to create a map:
If you already have a map and want to expand it, you can use the cartography table to do so. Here’s how:
Read Also: Squad Review: Analysis, Strategy, and Best Practices | [Your Website Name]
The cartography table also allows you to add map markers to your maps. Map markers are icons that represent points of interest in your Minecraft world, such as villages, temples, and strongholds. Here’s how to do it:
Using the cartography table in Minecraft is a useful way to create and customize maps. Whether you want to explore and navigate your Minecraft world or share maps with other players, the cartography table has you covered.
To add a map to the cartography table in Minecraft, follow these steps:
Once you have added the map to the cartography table, you can begin making changes to it.
Important Note: The map you add to the cartography table must be an original map, not a copy. Copies of maps cannot be edited.
To use paper and a compass on the cartography table in Minecraft, follow these steps:
Note: The cartography table is a useful tool for creating and expanding maps in Minecraft. It allows you to copy, zoom in or out, lock maps, and more. Experiment with different combinations of paper, compasses, and other items to discover new cartography options.
A cartography table is a block in Minecraft that is used for map cloning, extending, and zooming.
To craft a cartography table, you will need 2 paper and 4 wooden planks. Place the wooden planks in a 2x2 grid in the crafting table, leaving the center slots empty. Then, place the 2 papers in the top and bottom center slots of the cartography table recipe.
A cartography table can be used to clone maps, extend maps’ coverage areas, and zoom maps in or out.
To clone a map, simply place an already-created map into the left slot of the cartography table and a blank map into the right slot. The resulting map in the output slot will be an exact copy of the original map.
Yes, you can extend the coverage area of a map by placing the original map in the left slot and a piece of paper in the right slot of the cartography table. The resulting map will be larger and cover a bigger area.
Where Is The Black Helicopter In Fortnite? Fortnite, the popular battle royale game, is known for its hidden secrets and Easter eggs. Players …
Read Article
How Much Is My Fortnite Account Worth? Fortnite has taken the gaming world by storm, becoming one of the most popular battle royale games on the …
Read Article
How to Tame a Rabbit in Minecraft If you’re a fan of Minecraft, you probably know how satisfying it is to have a loyal companion by your side while …
Read Article
Why Did My Call Of Duty Account Reset? Call of Duty, the popular first-person shooter video game franchise, recently reset my account, leaving me …
Read Article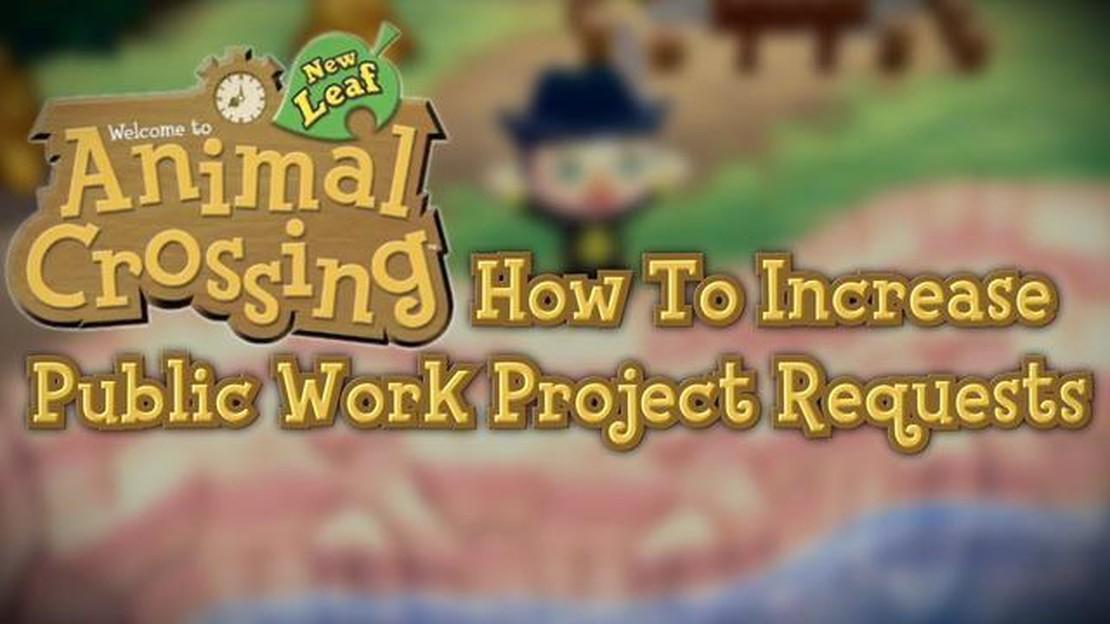
How to Get New Municipal Projects in Animal Crossing New Leaf If you’ve been playing Animal Crossing New Leaf, you know that one of the main …
Read Article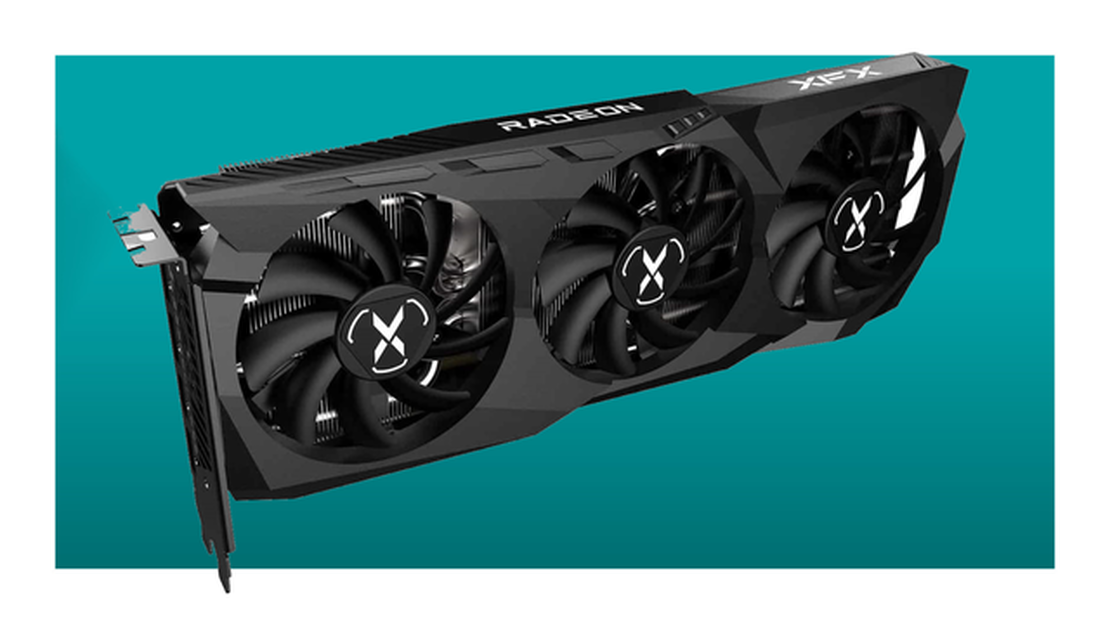
This RX 6700 XT graphics card is actually less than MSRP right now Are you looking for a high-performance graphics card that won’t break your budget? …
Read Article


