

Transform Your Keyboard with Custom Keycaps: A Guide to Making It Beautiful
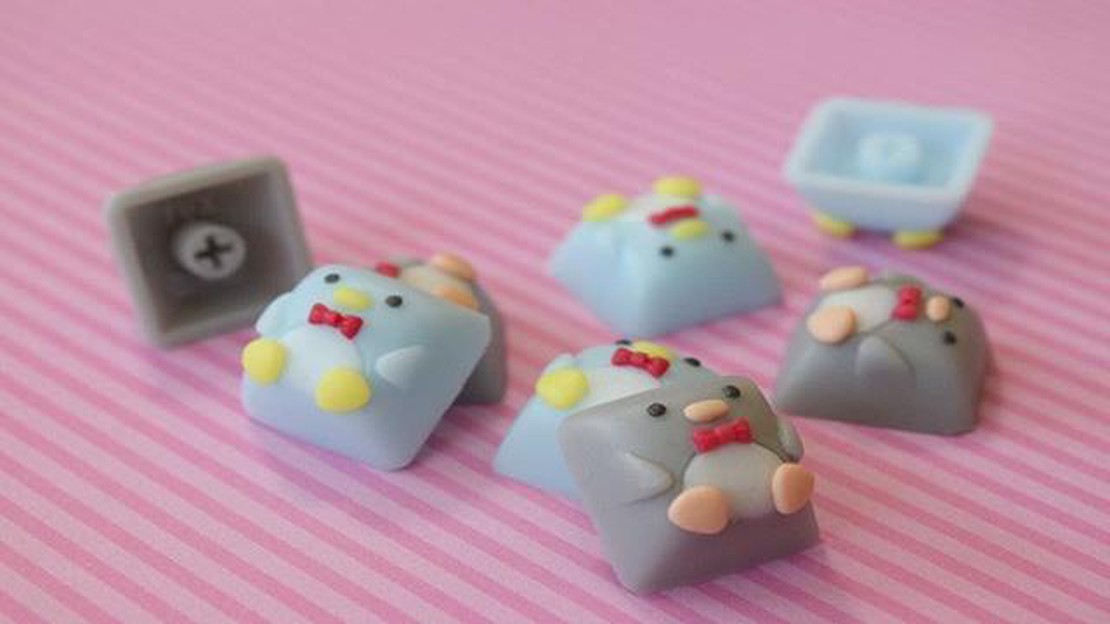
How to make your keyboard beautiful with custom keycaps Your computer keyboard doesn’t have to be just a functional tool - it can also be a statement …
Read Article
If you’re a Minecraft player, you know that the game is all about creativity and exploration. One of the key features that enhances your gameplay experience is the cartography table. This tool allows you to manipulate maps and create custom maps, adding a whole new level of depth to your world.
The cartography table can be found in villages or crafted using a crafting table. Once you have access to a cartography table, you can begin using it to enhance your maps. The table allows you to expand maps, apply zoom levels, and add markers to important locations. It’s a powerful tool that can help you navigate your Minecraft world more efficiently.
To use the cartography table, simply place it down and interact with it. You’ll see a user interface that allows you to interact with your maps. You can load an existing map onto the table or create a new one from scratch. From there, you can zoom in or out, add markers, and even copy maps to share with other players.
If you’re looking to create custom maps for your Minecraft world, the cartography table is an essential tool. It allows you to add your own personal touch to your maps, making them truly unique. Whether you’re mapping out a new adventure or simply want to keep track of your base’s location, the cartography table is a must-have tool for any serious Minecraft player.
So, the next time you’re playing Minecraft and need a way to navigate your world more efficiently, be sure to give the cartography table a try. With its intuitive interface and powerful features, you’ll be able to create and customize maps like never before. Happy exploring!
The Cartography Table is a useful tool in the game of Minecraft that allows players to modify and create maps. It can be found in villages or crafted using four planks and two pieces of paper. The following are some key features and functions of the Cartography Table:
The Cartography Table is a versatile tool, allowing players to customize and enhance their exploration experience in Minecraft. Whether they want to create detailed maps, expand existing ones, or locate valuable structures, the Cartography Table is an essential tool for any adventurer.
The Cartography Table is a useful tool in Minecraft that allows you to customize and modify maps. With a Cartography Table, you can expand a map, clone a map, or even lock a map to prevent further modification. Here is a step-by-step guide on how to use the Cartography Table in Minecraft:
| Planks | ||
| Iron Ingot | Planks | Iron Ingot |
| Planks | Planks | Planks |
That’s it! You now know how to use the Cartography Table in Minecraft to customize and modify maps. Experiment with different modifications to create unique and useful maps for your Minecraft adventures.
Using the Cartography Table in Minecraft allows you to craft and edit maps, as well as create copies of existing ones. Follow these steps to learn how to use the Cartography Table:
Place the four planks in the corners of the crafting table (in a square shape), and then place the two pieces of paper in the middle row. This will create the Cartography Table.
Read Also: Crapshoot: Exploring the Nightmare Realm of Granny's Garden8. Taking the Output: After performing the desired action on the Cartography Table, the output will appear in the left slot. Simply click on it to take the result and add it to your inventory.
That’s it! You’ve now learned how to use the Cartography Table in Minecraft. Experiment with different combinations to create unique and customized maps for your adventures.
The cartography table is a useful tool in Minecraft that allows players to create and modify maps. Here are some tips and tricks for using the cartography table:
With these tips and tricks, you’ll be able to make the most out of the cartography table in Minecraft and create detailed maps for your adventures.
If you want to become a master cartographer in Minecraft, there are several techniques and tips that can help you improve your skills. Whether you’re creating detailed maps for navigation or creating custom banners, the cartography table is a versatile tool that can enhance your gameplay experience.
Before diving into advanced techniques, it’s important to understand the basics of using the cartography table. Familiarize yourself with the different input and output slots, as well as the various recipes you can use to create maps or banners.
Read Also: Scorn review: A detailed analysis of the new game
The cartography table allows you to use various materials to create maps and banners. Experiment with different combinations to see how they affect the final product. Some materials may enhance the quality of the map, while others may add unique designs to the banner.
The cartography table offers the ability to expand maps, increasing their size and detail. This can be useful when exploring large areas or creating more detailed maps for navigation purposes. By expanding maps, you can reveal hidden structures or locate specific biomes more easily.
In addition to creating maps, the cartography table can be used to customize banners. Experiment with different patterns and color combinations to create unique designs for your bases or faction emblems. Use the different slots in the cartography table to mix and match colors and patterns.
If you want to share your creations with other players, explore the option of copying your maps and banners. The cartography table allows you to duplicate maps, making it easier to distribute them to your friends or fellow players. This can be especially useful in multiplayer servers or community builds.
There are numerous tutorials, guides, and communities dedicated to cartography in Minecraft. Take advantage of these resources to learn new techniques, get inspiration, or share your own creations. Joining a community of fellow cartographers can help you discover new ideas and improve your skills.
Like any skill, improving your cartography abilities requires practice. Set aside time to experiment with the cartography table and create different maps and banners. Over time, you’ll become more comfortable with its features and be able to create more intricate and detailed designs.
By following these tips and techniques, you can improve your cartography skills in Minecraft and bring your creations to life. Whether you’re mapping out new territory or designing unique banners, the cartography table is a powerful tool that can enhance your gameplay experience.
A Cartography Table is a tool in Minecraft that allows players to create maps, expand maps, and clone maps.
To make a Cartography Table, you need four wooden planks and two pieces of paper. Arrange them in a crafting table or your inventory crafting grid to create the Cartography Table.
With a Cartography Table, you can create a new map, expand an existing map, clone a map, lock a map, and zoom in or out on a map.
To create a new map, place an empty map and a piece of paper in the Cartography Table. The table will then update the map with any explored areas around you.
To expand a map, place the map you want to expand and a piece of paper in the Cartography Table. The table will then extend the map to cover a larger area.
Yes, you can clone maps by placing a map you want to clone and an empty map in the Cartography Table. The cloned map will have the same explored areas as the original.
To lock a map, you need to place a glass pane on the Cartography Table along with the map you want to lock. This will prevent the map from being modified or expanded.
How to make your keyboard beautiful with custom keycaps Your computer keyboard doesn’t have to be just a functional tool - it can also be a statement …
Read Article
When Is Fortnite Going To End? Fortnite, the immensely popular online video game developed by Epic Games, has become a global phenomenon since its …
Read Article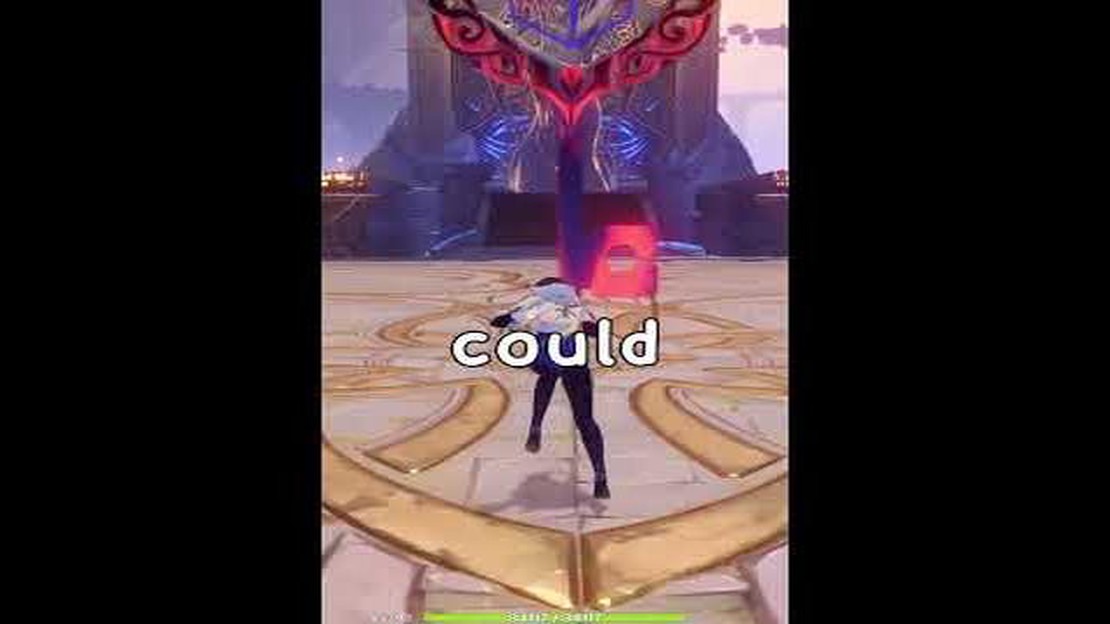
Who Is The Hottest Genshin Impact Character? Are you a fan of Genshin Impact and can’t get enough of the amazing characters? Have you ever wondered …
Read Article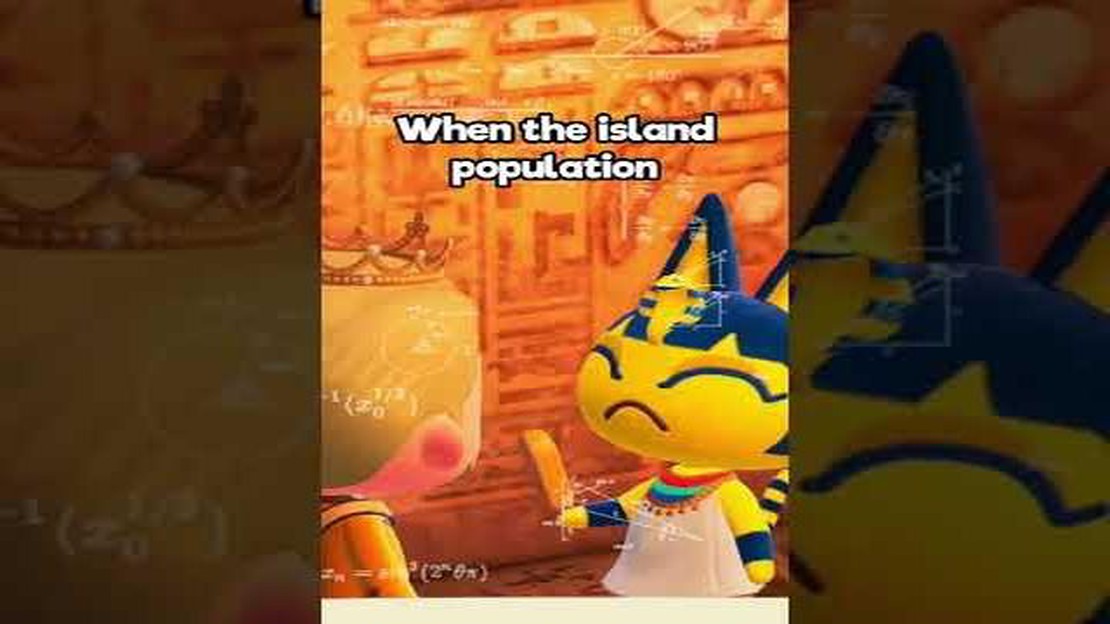
How Rare Is Ankha Animal Crossing? If you’re an avid Animal Crossing player, chances are you’ve heard about Ankha. This Egyptian cat villager has …
Read Article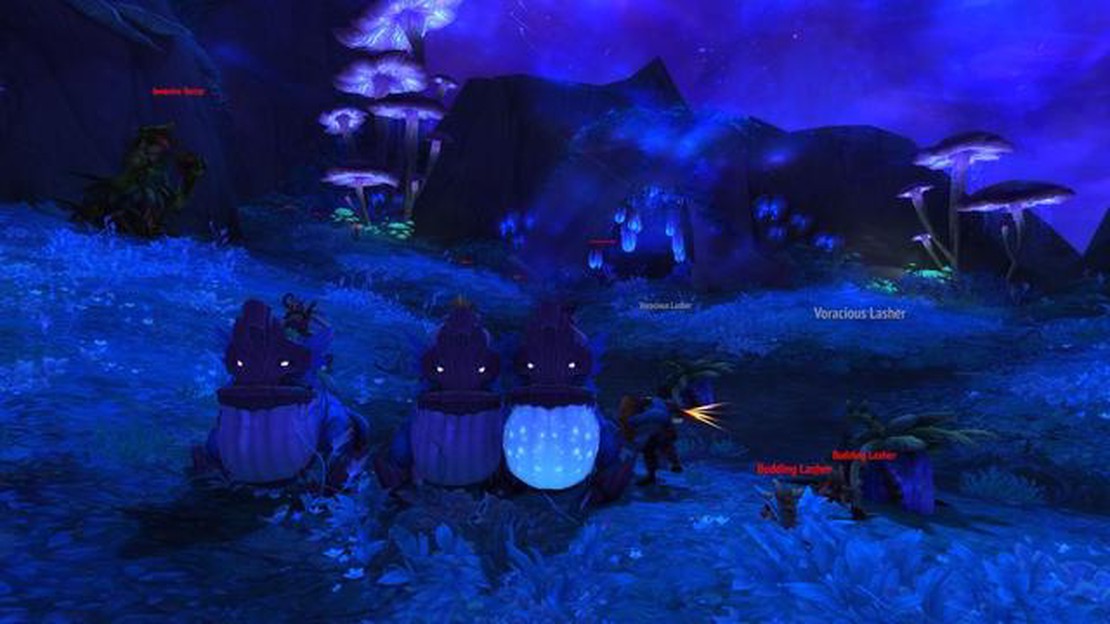
How to get the Unusually Large Mushroom in Shadowlands If you’re a World of Warcraft: Shadowlands player and you’ve been searching for rare and hidden …
Read Article
How To Get Dragonite In Pokemon Go? Dragonite is one of the most sought-after Pokemon in the popular mobile game Pokemon Go. Known for its incredible …
Read Article


