
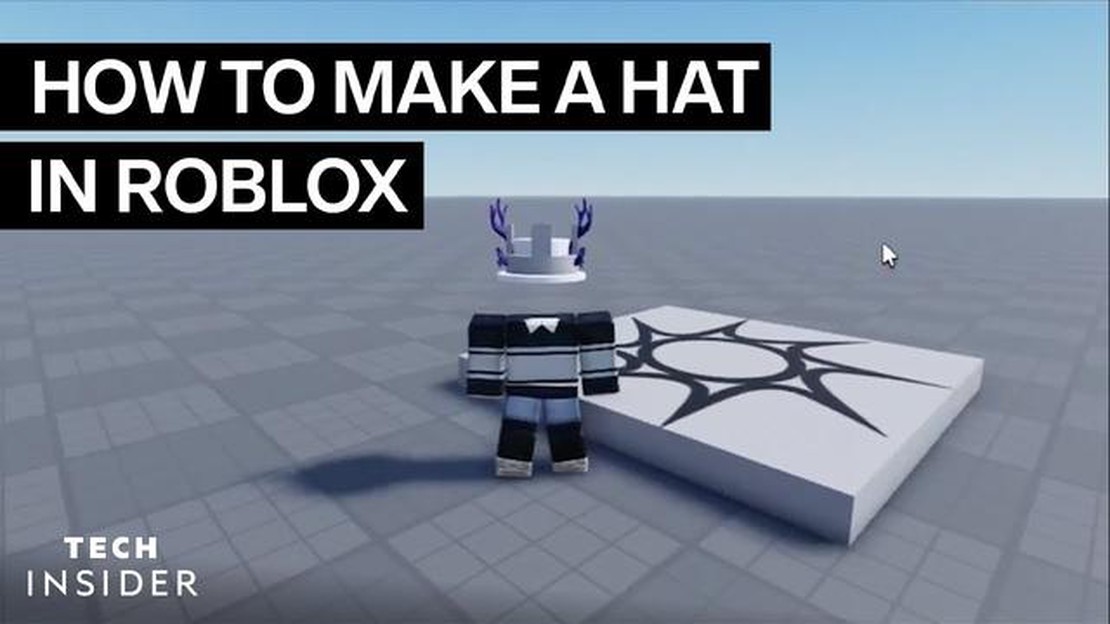

Learn How to Create Custom Hats in Roblox!
How To Make A Hat In Roblox? Are you a fan of Roblox and want to express your creativity by designing your own hats? Look no further! In this …
Read Article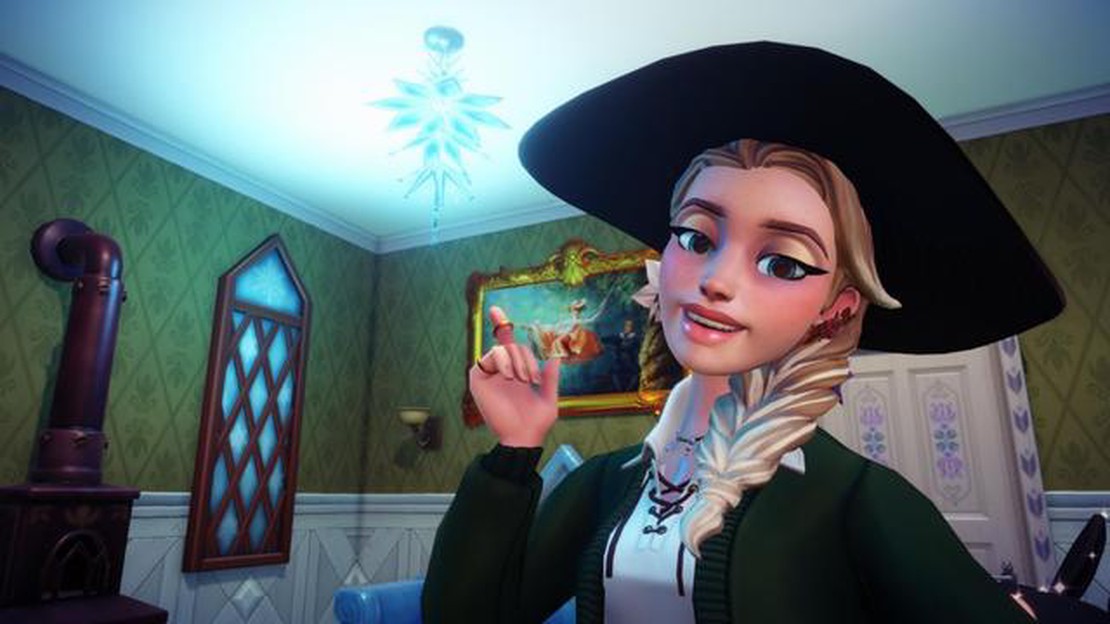
Welcome to Disney Dreamlight Valley, the magical world where your favorite Disney characters come to life! One of the most exciting features of this game is the ability to create and customize your own avatar. In this step-by-step guide, we will show you how to import your avatar and bring it to life in the game.
Step 1: Launch the Disney Dreamlight Valley app on your device and log in to your account. If you don’t have an account yet, you can create one by following the on-screen instructions.
Step 2: Once you are logged in, navigate to the avatar customization menu. This can usually be found in the settings or profile section of the app. Here, you will be able to choose from a wide range of options to personalize your avatar, including hairstyle, facial features, clothing, and accessories.
Step 3: Now it’s time to import your avatar. Look for the “Import Avatar” button or option in the customization menu. This will allow you to upload an image or select a pre-made avatar from your device’s gallery. Make sure to choose an image that represents your desired look and style.
Step 4: After selecting or uploading your avatar image, the game will automatically generate a 3D model based on the image. This process may take a few moments, so be patient. Once the model is generated, you will have the chance to make any additional adjustments to your avatar’s appearance.
Step 5: Once you are satisfied with your avatar’s look, save your changes and start exploring Disney Dreamlight Valley with your personalized character. You can interact with other players, go on quests, and experience all the magical adventures that await you in this enchanting world.
Remember, the avatar import feature in Disney Dreamlight Valley allows you to truly make the game your own and stand out from the crowd. So don’t be afraid to unleash your creativity and imagination as you bring your unique avatar to life in this Disney-filled universe!
Disney Dreamlight Valley is an exciting virtual world where you can create your own avatar and explore the magical world of Disney. If you want to import your avatar into the game, follow these simple steps:
Note: Make sure to follow the game’s guidelines and terms of service when importing your avatar. Some restrictions may apply, and inappropriate content may be rejected.
That’s it! You have successfully imported your avatar into Disney Dreamlight Valley. Enjoy your time in the magical world of Disney!
Read Also: What Programming Language is Clash of Clans Coded In?
If you want to import your avatar in Disney Dreamlight Valley, you need to register an account. Follow these steps to create an account:
After registering an account, you can proceed to import your avatar and start exploring the magical world of Disney Dreamlight Valley.
Once you have created your character in Disney Dreamlight Valley and have entered the game, you will have the option to customize your avatar’s appearance. To access the avatar customization options, follow these steps:
Remember to save your changes if prompted, so that your customized avatar will be displayed during gameplay and interactions with other players in Disney Dreamlight Valley.
To import your desired avatar in Disney Dreamlight Valley, follow these steps:
Make sure to select an image file that meets the game’s requirements for size and format. Consult the game’s documentation or support resources for more information on the specific requirements.
Read Also: Discover the Release Date of Minecraft for an Epic Gaming Journey
Remember that imported avatars may be subject to review and moderation by the game’s developers. Inappropriate or copyrighted content may be rejected.
Disney Dreamlight Valley is a virtual reality game where players can create and customize their own avatars and interact with iconic Disney characters and attractions.
To import your avatar in Disney Dreamlight Valley, you need to follow a few simple steps. First, make sure you have a valid Disney account. Then, log into the game and go to the avatar customization section. From there, you will be able to import your avatar by selecting the “Import Avatar” option and following the on-screen instructions.
Yes, you can import your avatar from other Disney games into Disney Dreamlight Valley. As long as you have a valid Disney account and the game supports avatar import, you should be able to transfer your avatar easily.
If you don’t have a Disney account, you will need to create one before you can import your avatar in Disney Dreamlight Valley. It’s a simple process that requires you to provide some basic information and agree to the terms and conditions of the game.
While there are no specific limitations mentioned in the article, it is possible that there could be some restrictions on importing avatars in Disney Dreamlight Valley. These restrictions could be related to the size, format, or content of the avatar. It’s always a good idea to check the game’s guidelines or contact player support for more information.
If you encounter any issues when importing your avatar in Disney Dreamlight Valley, the first step would be to check if you have followed all the instructions correctly. If the issue persists, you can try restarting the game or contacting player support for assistance. They will be able to guide you through any troubleshooting steps and help resolve the problem.
Yes, you can change your imported avatar later in Disney Dreamlight Valley. The game provides various customization options, allowing you to modify your avatar’s appearance and accessories. Simply go to the avatar customization section and explore the available options to make changes to your imported avatar.
How To Make A Hat In Roblox? Are you a fan of Roblox and want to express your creativity by designing your own hats? Look no further! In this …
Read Article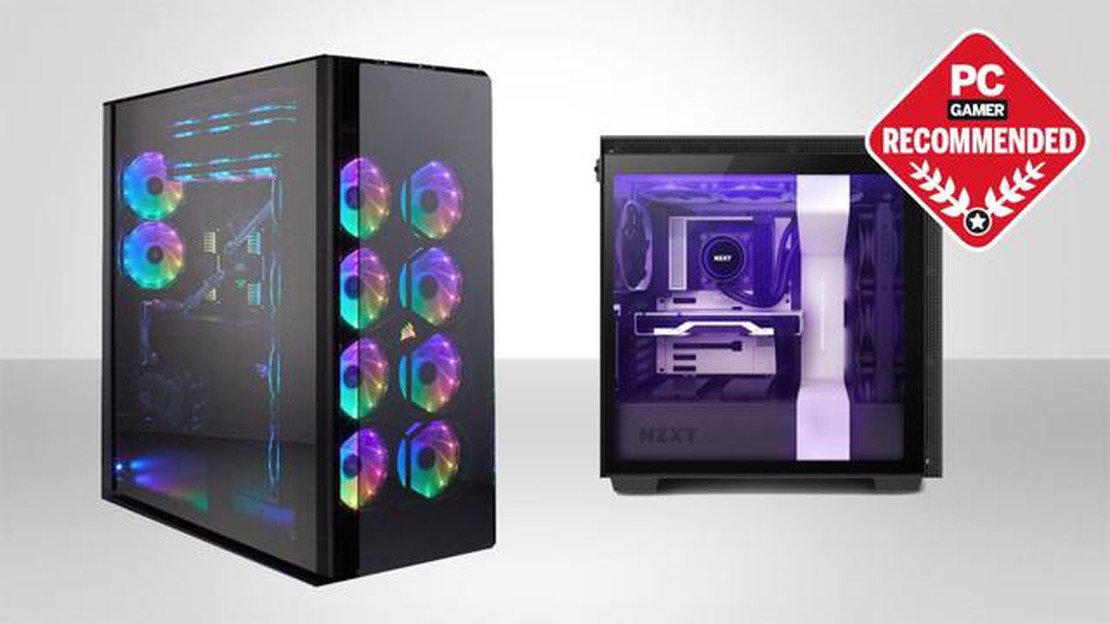
The best PC cases in 2023 When it comes to building your own PC, choosing the right case is crucial. Not only does it impact the overall look of your …
Read Article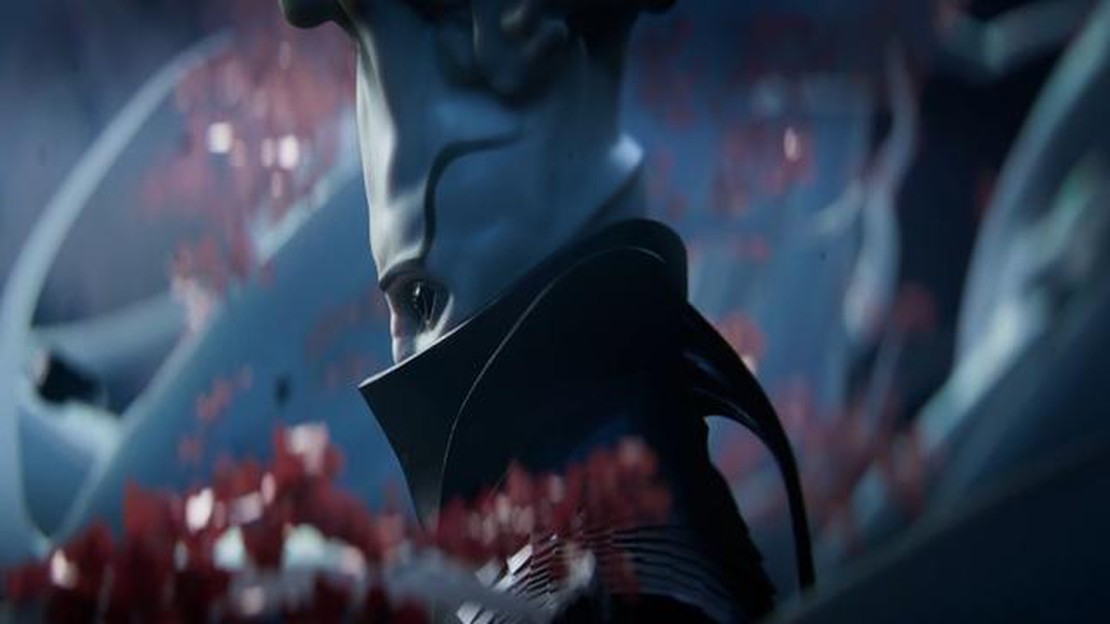
Bungie weighs in on the current argument raging through the Destiny 2 lore community: Has the Witness been retconned? Recently, Destiny 2 players have …
Read Article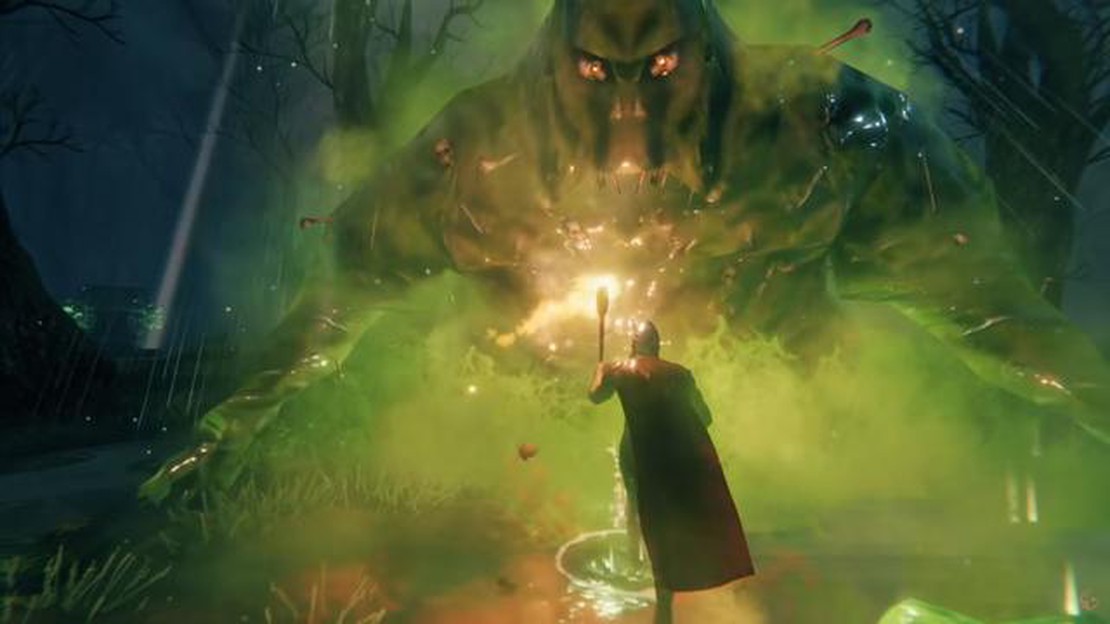
Valheim boss guide: how to summon and defeat every big bad boss Valheim, the popular survival game developed by Iron Gate Studio, has taken the gaming …
Read Article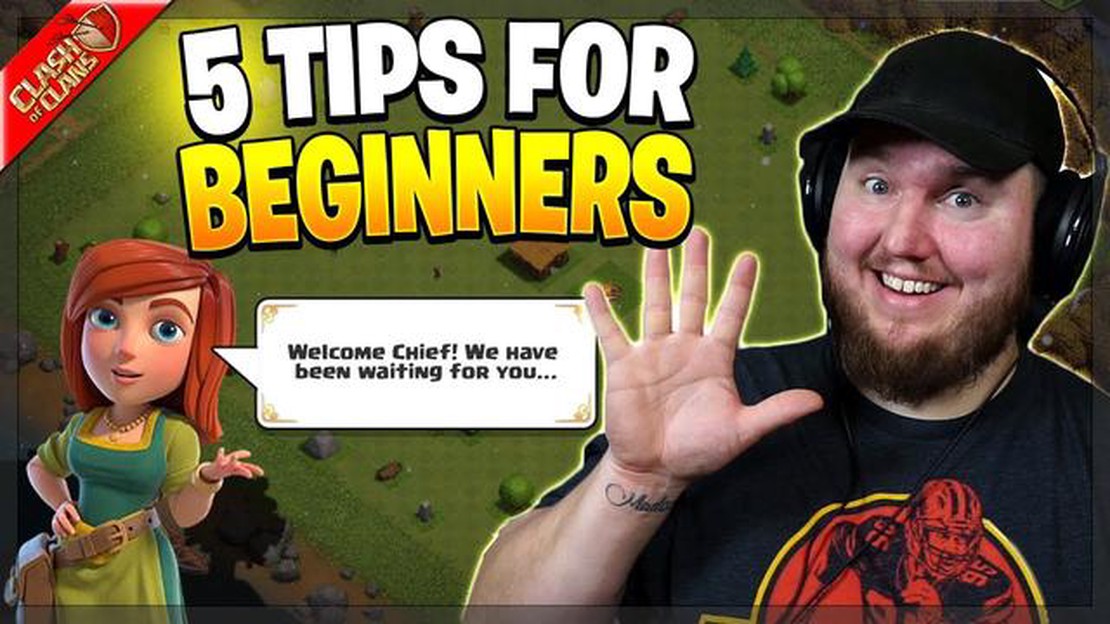
How To Get Really Good At Clash Of Clans? Clash of Clans is a popular mobile strategy game where players build and expand their own villages, train …
Read Article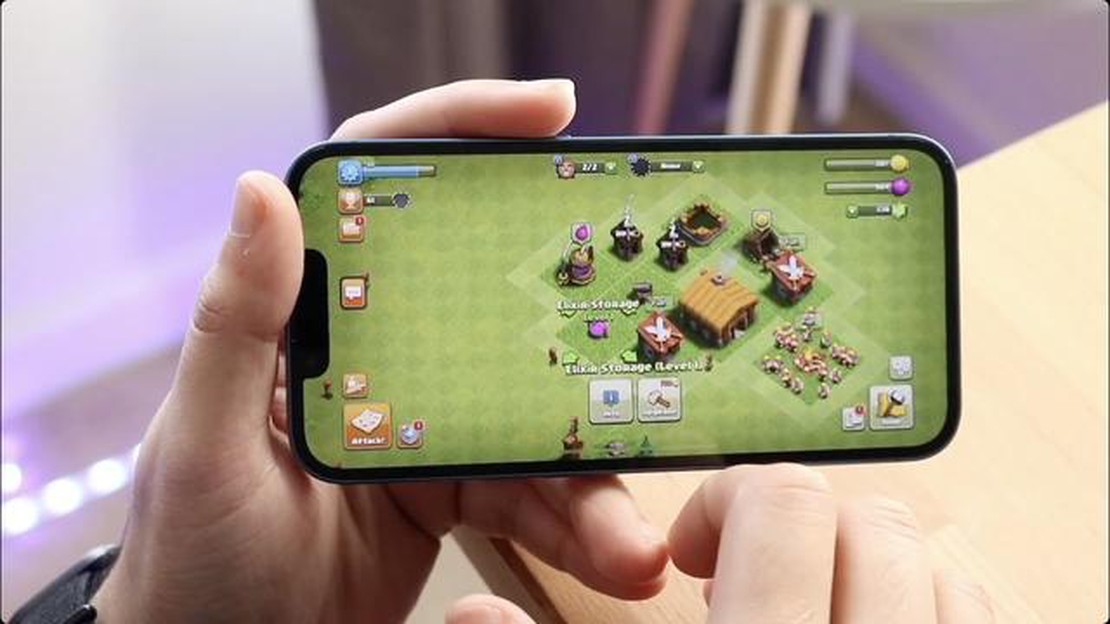
How To Restart Your Clash Of Clans On Ipad? If you’re an avid Clash of Clans player on iPad and find yourself needing to restart the game, don’t …
Read Article


