
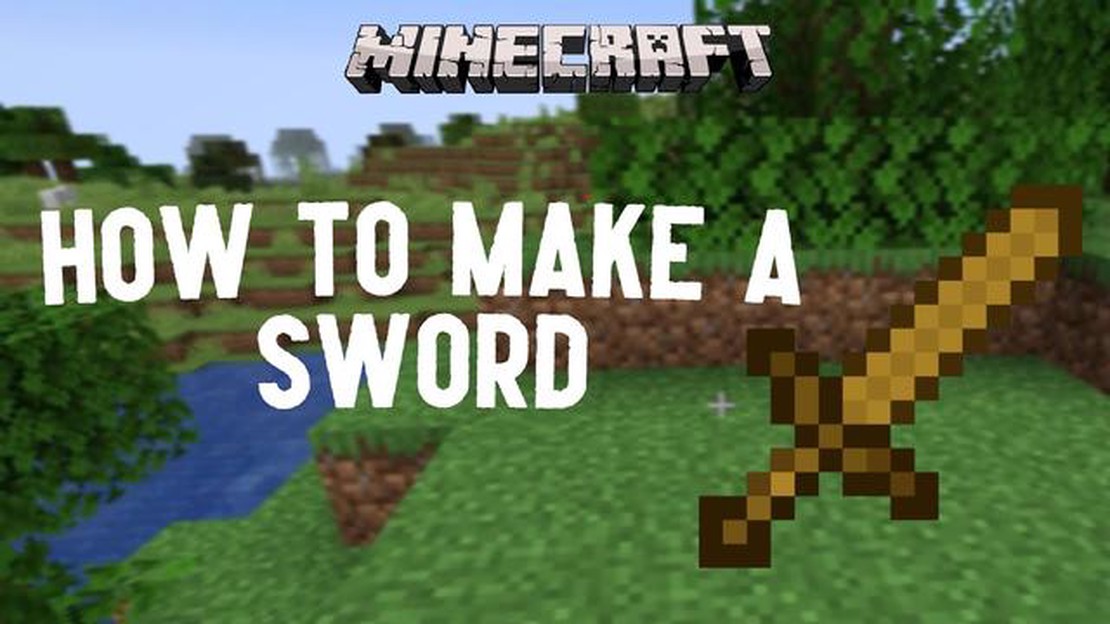

Step by Step Guide: How to Make a Wooden Sword in Minecraft
How to Make a Wooden Sword in Minecraft Minecraft is a popular sandbox game that allows players to create and explore virtual worlds. One key aspect …
Read Article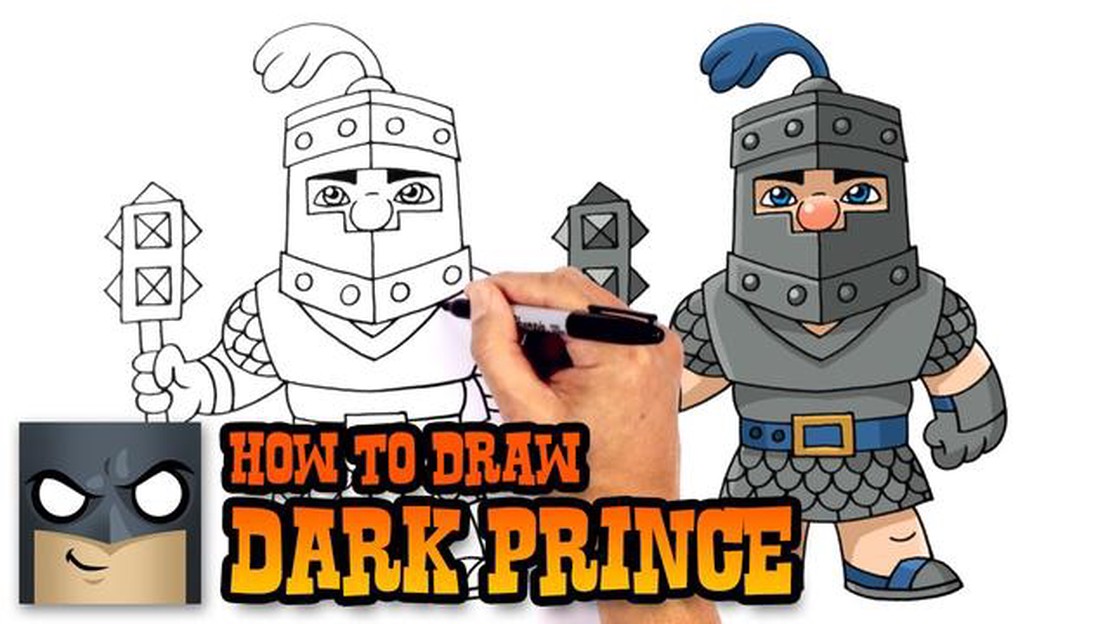
In this step by step tutorial, we will guide you on how to draw the Dark Prince in Clash Royale. The Dark Prince is a powerful troop in the game that can deal splash damage and charge into enemies. With its distinctive armor and menacing appearance, the Dark Prince is a popular choice among Clash Royale players.
To start, we will outline the Dark Prince’s body using basic shapes. Draw a large oval for the head and a rectangle for the body. Add two smaller ovals on either side of the body for the shoulders. Next, sketch two lines extending from the head to create the neck.
Once the basic shapes are in place, we can start adding the details. Draw the Dark Prince’s helmet by adding curved lines above the head. Add a visor with eye holes and a large pointy top. Don’t forget to add the distinctive horns on the sides of the helmet.
Next, draw the Dark Prince’s armor. Start by adding shoulder pads on top of the ovals we drew earlier. Connect these shoulder pads with curved lines to create the armor’s chest plate. Add details such as spikes and patterns on the armor to make it more menacing.
Finally, add the finishing touches to your Dark Prince drawing. Draw the Dark Prince’s sword, which should be slightly curved and extend from one hand. Add the Dark Prince’s shield on the other hand, which should be circular with spikes around the edges. Erase any unnecessary lines and add shading to give your drawing depth and dimension.
With practice, you will be able to draw the Dark Prince with ease. Use this step by step tutorial as a guide and let your creativity shine through. Whether you want to show off your drawing skills or simply enjoy creating art, this tutorial is sure to help you become a master at drawing the Dark Prince in Clash Royale.
Clash Royale is a popular mobile game that features various characters with unique abilities. One of the most popular characters in the game is the Dark Prince. In this step by step tutorial, you will learn how to draw the Dark Prince character in Clash Royale.
By following these steps, you will be able to create your very own Dark Prince drawing in Clash Royale. Don’t be afraid to add your own unique touches and make the character your own. Happy drawing!
When starting to draw the Dark Prince from Clash Royale, the first step is to sketch out the basic outline of the character. Start by drawing a large oval shape for the head and a smaller oval shape for the body.
Once you have the head outlined, move on to sketching the body.
Remember, this is just the initial sketch, so don’t worry about getting everything perfect. The goal is to establish the basic proportions and shapes of the Dark Prince before moving on to adding details.
Now that we have the basic outline of the Dark Prince, it’s time to add some details to bring him to life!
Read Also: How to Obtain Excalibur in Assassin's Creed Valhalla: Ultimate Guide
First, let’s start by drawing the face of the Dark Prince. Draw two small circles for the eyes and shade them in. Then, draw a curved line for the brow and a curved line for the mouth. Add some small dots for the nostrils. Don’t forget to draw his signature moustache!
Next, we’ll draw the Dark Prince’s helmet. Start by drawing a curved line for the top of the helmet, and then draw two curved lines on either side for the sides of the helmet. Connect the lines at the bottom to complete the shape. Add some small lines for details on the front of the helmet.
Now, let’s move on to the Dark Prince’s armor. Draw a curved line from the top of the helmet to the left side of the body. Then, draw another curved line from the top of the helmet to the right side of the body. Connect the lines at the bottom with a curved line to create the shape of the armor. Add some smaller lines for details on the armor.
After you’ve finished drawing the armor, move on to the Dark Prince’s sword. Draw a long, straight line for the handle of the sword. Then, draw a curved line for the blade of the sword. Add some small lines for details on the blade.
Lastly, draw the Dark Prince’s cape. Start by drawing a curved line from the left side of the body to the bottom. Then, draw another curved line from the right side of the body to the bottom. Add some lines for details on the cape.
Congratulations! You’ve added all the details to the Dark Prince. Now you can color him in and make him look even more amazing!
Read Also: Owlbear Rodeo: A Lightweight Virtual Tabletop for D&D
Now that we have finished the pencil sketch of the Dark Prince, it’s time to add color and shading to bring our drawing to life.
Start by selecting the colors you want to use for the Dark Prince. Typically, the Dark Prince is depicted in shades of dark blue and black with silver accents. Use these colors as a starting point, but feel free to get creative and add your own touches.
Begin by coloring the main body of the Dark Prince using the darkest shade of blue you have chosen. Fill in each section of the body carefully, making sure to stay within the lines. Don’t worry about shading just yet - we will come back to that later.
Next, use a lighter shade of blue to add some depth and dimension to the body. Use this shade to color in areas where the light would hit, such as the top of the shoulders, the front of the legs, and the chest. This will help give the Dark Prince a three-dimensional appearance.
Once you have finished coloring the body, move on to the armor. The armor should be colored in shades of black, with silver accents to represent the metallic parts. Use a dark gray or black for the base color, and then add highlights with a lighter gray or silver pencil. This will help give the armor a shiny, metallic look.
Finally, add shading to the entire drawing to make it look more realistic. Shade the areas that would be in shadow, such as the underside of the body and the inner parts of the armor. Use a pencil with a medium shade of blue or black, and lightly shade these areas. Gradually build up the shading until you achieve the desired effect.
Remember to take your time and be patient with the coloring and shading process. It may take some practice to get the hang of it, but with time and practice, you will improve. Once you are finished, you will have a beautifully colored and shaded drawing of the Dark Prince from Clash Royale!
Clash Royale is a popular mobile strategy video game developed and published by Supercell.
The Dark Prince is a powerful troop card in Clash Royale, known for his strong attacks and durable armor.
Yes, anyone can learn how to draw the Dark Prince in Clash Royale with the help of this step-by-step tutorial.
To draw the Dark Prince in Clash Royale, you will need a pencil, eraser, drawing paper, and colored pencils or markers if you want to add color to your drawing.
How to Make a Wooden Sword in Minecraft Minecraft is a popular sandbox game that allows players to create and explore virtual worlds. One key aspect …
Read Article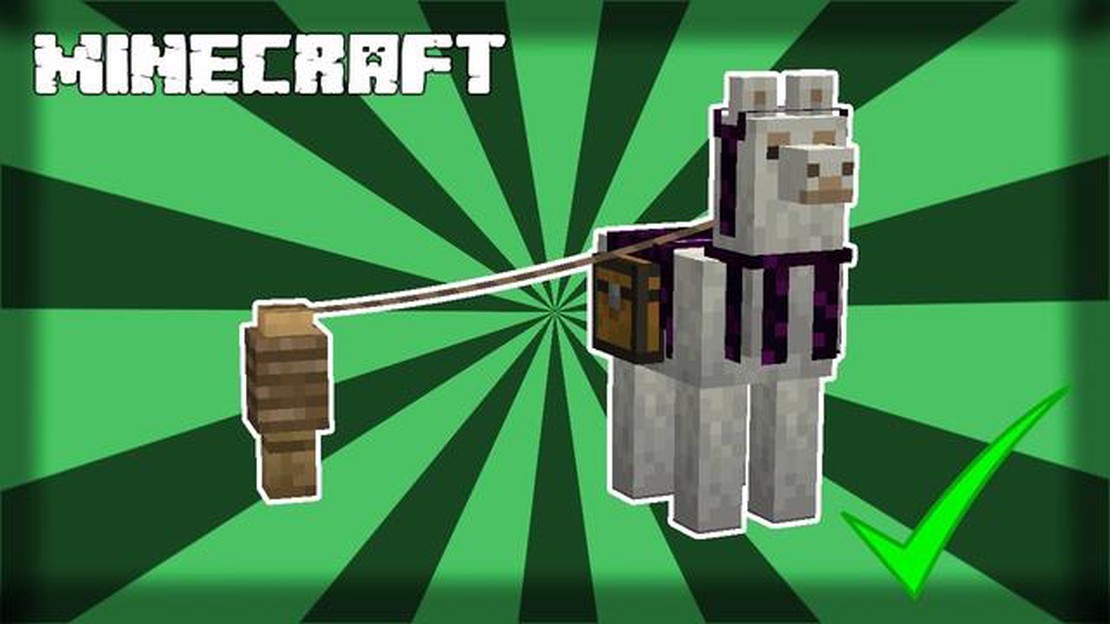
How To Tame Llamas In Minecraft? Llamas are versatile and fun creatures to have in your Minecraft world. They can be used to transport items, defend …
Read Article
How To Get Apples In Minecraft? If you’re a Minecraft enthusiast, you know that apples are a valuable resource that can provide a variety of benefits …
Read Article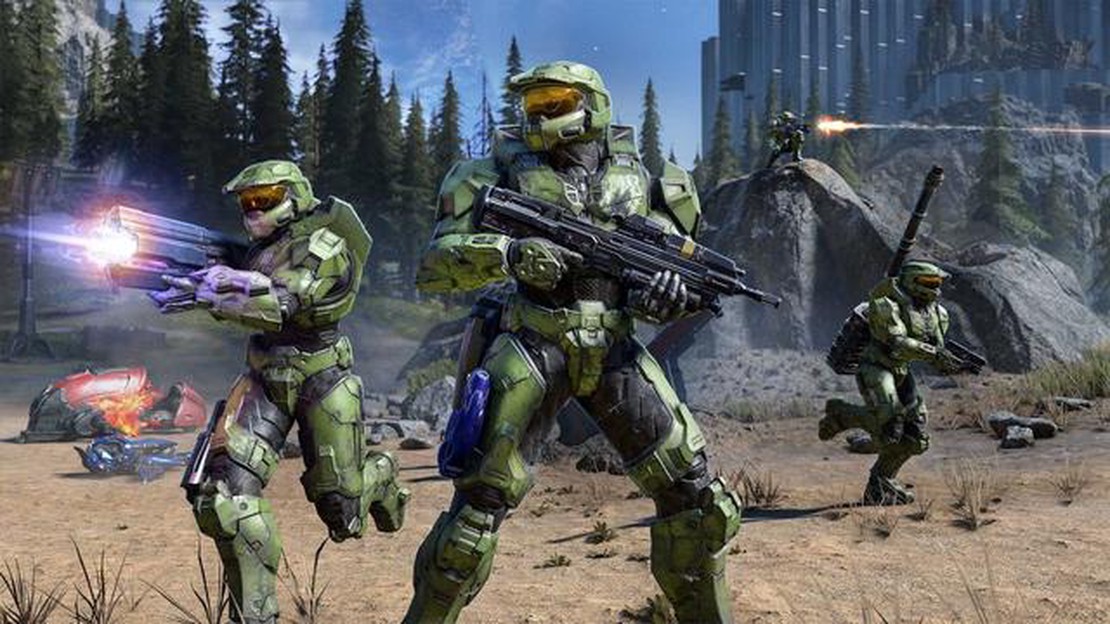
Halo Infinite’s ‘biggest update yet’ finally adds campaign co-op and the Forge Halo Infinite, the highly anticipated first-person shooter game from …
Read Article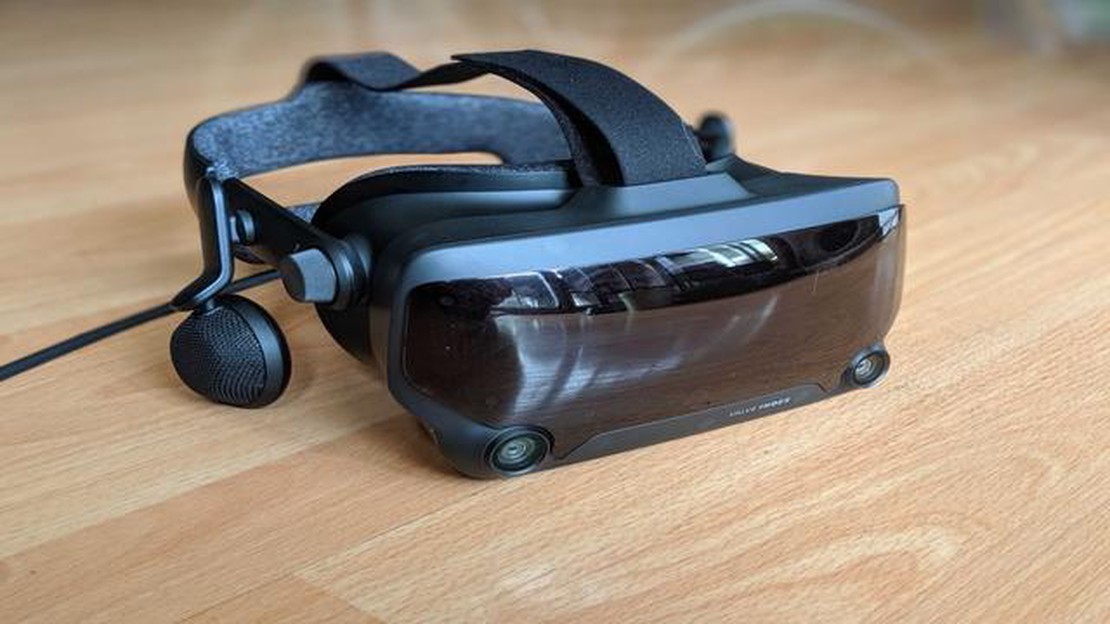
Valve Index review When it comes to virtual reality, the market is flooded with options. From affordable mobile headsets to high-end gaming rigs, …
Read Article
When Is Call Of Duty Modern Warfare Beta? The highly anticipated Call of Duty Modern Warfare Beta is just around the corner, and fans are eagerly …
Read Article


