
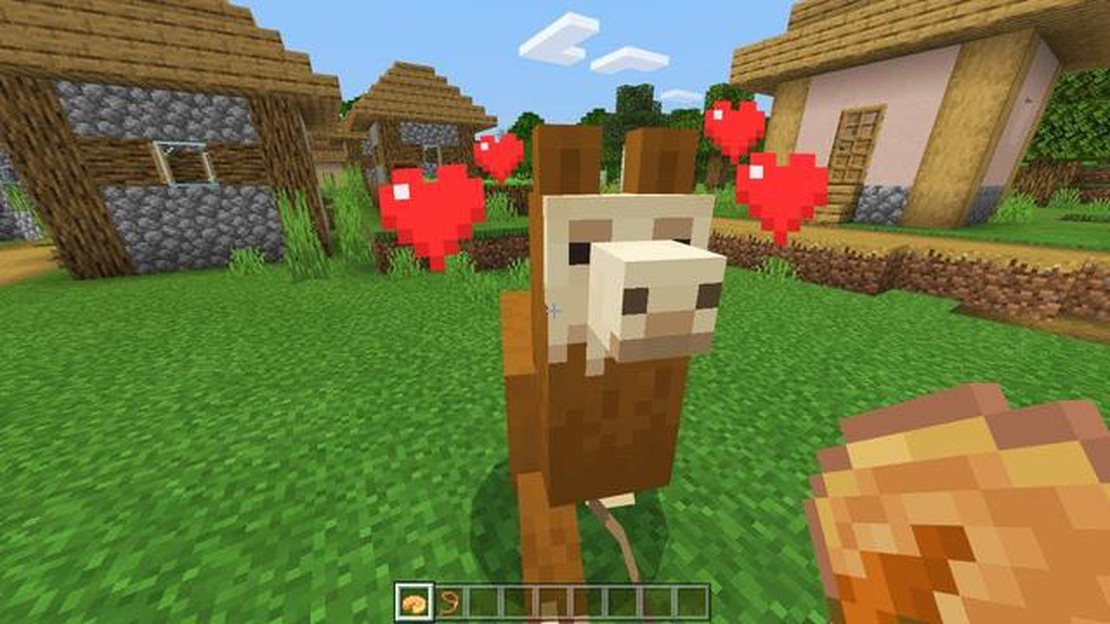

Learn how to ride a llama in Minecraft: Step-by-step guide
How Do You Ride A Llama In Minecraft? Minecraft offers players the opportunity to embark on all sorts of adventures in its vast and imaginative …
Read Article
Hosting your own Minecraft server on your PC can be a great way to play with friends or create your own unique gaming experience. It allows you to have complete control over the server settings, mods, and plugins, giving you the freedom to customize your gameplay however you like.
In this easy tutorial, we will walk you through the step-by-step process of hosting a Minecraft server on your PC. Whether you are a beginner or an experienced Minecraft player, this guide will provide you with all the information you need to get started.
Before we begin, there are a few things you’ll need. First, make sure you have a computer with a decent amount of processing power and RAM. Minecraft servers can be resource-intensive, so it’s important to have a system that can handle the load. You will also need a copy of the Minecraft game, which you can purchase from the official website or through a digital distribution platform.
Disclaimer: Hosting a Minecraft server on your PC may require advanced technical knowledge and could potentially pose security risks to your computer. It’s important to take the necessary precautions and understand the potential risks before proceeding. If you are unsure or uncomfortable with these risks, we recommend using a professional hosting service instead.
Are you ready to take your Minecraft experience to the next level? Hosting your own Minecraft server on your PC allows you to customize your gameplay, invite friends to join, and create a unique gaming experience. Follow this step-by-step guide to learn how to host a Minecraft server on your PC.
Step 1: Install Java
In order to run a Minecraft server, you will need to have Java installed on your PC. If you don’t have Java installed, you can download and install it from the official Oracle website.
Step 2: Download the Minecraft Server Software
Next, you will need to download the Minecraft server software. Visit the official Minecraft website and navigate to the “Download” section. Choose the “Minecraft Server” option to download the server software.
Step 3: Configure the Server Settings
Once you have downloaded the server software, you will need to configure the server settings. Open the server software and locate the server.properties file. This file allows you to customize various aspects of the server, such as the game mode, difficulty level, and server name.
Step 4: Port Forwarding
In order for others to connect to your Minecraft server, you will need to enable port forwarding on your router. This process may vary depending on the make and model of your router. Consult your router’s manual or contact your internet service provider for instructions on how to enable port forwarding.
Step 5: Start the Minecraft Server
Now that your server is configured and port forwarding is enabled, you are ready to start the Minecraft server. Double-click the server file to start it. You will see a command prompt window open, indicating that the server is running.
Step 6: Invite Friends to Join
Finally, invite your friends to join your Minecraft server. They will need to enter your IP address and the server port number to connect. You can find your IP address by searching “What is my IP” on a search engine.
Step 7: Customize Your Gameplay
Read Also: Mobile Legends: How to Report Technical Issues - Step by Step Guide
Now that your server is up and running, you can customize your gameplay. You can install mods, create custom worlds, and configure game rules. Explore the server configuration files to personalize your Minecraft experience.
Congratulations! You have successfully hosted a Minecraft server on your PC. Enjoy playing with your friends and creating your own Minecraft world!
There are several reasons why hosting a Minecraft server on your PC is a great option:
In summary, hosting a Minecraft server on your PC provides you with more control, flexibility, privacy, modding capabilities, and cost savings compared to using external hosting services. It is a great option for Minecraft enthusiasts who want to create a customized gaming experience and enjoy playing with friends.
Before you begin hosting a Minecraft server on your PC, it is important to make sure that your PC meets the necessary requirements. This will ensure that your server runs smoothly and efficiently.
Here are the recommended requirements for hosting a Minecraft server:
Read Also: Discover the Top Players in FIFA 23: Unveiling the Best in the Game
It is important to note that these are just the recommended requirements. Your server may still work with lower specifications, but it may not provide the best performance or support a large number of players.
Additionally, you should also consider the number of players you expect to host on your server. If you plan to have a small number of players, your PC may be able to handle it even if it does not meet the recommended requirements. However, if you plan to have a large number of players or use resource-intensive mods/plugins, it is advisable to have a PC that meets or exceeds the recommended requirements.
Once you have ensured that your PC meets the necessary requirements, you can proceed to the next step of hosting your Minecraft server.
Before you can start hosting your own Minecraft server, you need to download and install the necessary server software. Follow these steps to get started:
During the installation process, you may be prompted to choose a location for the server files and configure other settings. It’s recommended to use a dedicated folder to store the server files, as they can take up a considerable amount of space over time.
After the installation is complete, you will have the Minecraft server software installed on your computer, ready to be configured and launched. In the next step, we will learn how to set up the server and configure its settings.
Once you have your Minecraft server up and running, it’s important to configure the server settings to customize your gameplay experience. Here are the key steps to configure the server settings:
Once you have configured the server settings, your Minecraft server will be customized according to your preferences. You can always go back and modify the settings as needed to create the desired gameplay environment.
Yes, it is possible to host a Minecraft server on your own PC. You just need to follow a few simple steps.
The system requirements for hosting a Minecraft server on a PC are not very demanding. You will need a computer with at least 4GB of RAM, a decent processor, and a stable internet connection.
Yes, you can host a Minecraft server on a laptop as long as it meets the minimum system requirements.
Yes, you will need to purchase the Minecraft game in order to host a server. The game is not free.
No, it is not difficult to set up a Minecraft server on a PC. The tutorial provides a step-by-step guide that makes the process easy to follow.
Yes, it is possible to host a Minecraft server for free. However, free hosting options may have limitations such as server uptime and performance.
Hosting a Minecraft server on your own PC allows you to have full control over the server settings, mods, and plugins. You can also invite your friends to play with you without any additional costs.
How Do You Ride A Llama In Minecraft? Minecraft offers players the opportunity to embark on all sorts of adventures in its vast and imaginative …
Read Article
What Is Elemental Mastery Genshin Impact? In Genshin Impact, Elemental Mastery is a key stat that players need to understand in order to maximize the …
Read Article
Valheim cheats: All codes and console commands to wield godly power If you’ve been exploring the vast and dangerous world of Valheim, chances are …
Read Article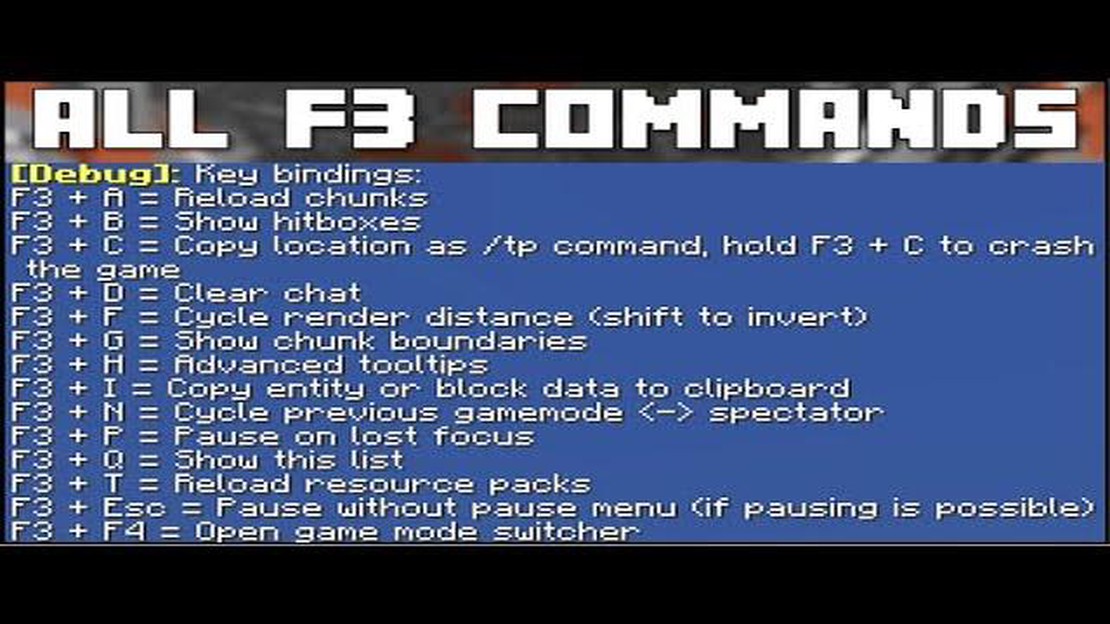
F3 commands Minecraft When playing Minecraft, it’s not uncommon to encounter bugs or issues that hinder your gameplay experience. Luckily, the game …
Read Article
How to Get Rotom on Pokémon Go Rotom is an Electric/Ghost type Pokémon that has become a fan favorite in the Pokémon series. It has a unique ability …
Read Article
How To Dig Up Trees In Animal Crossing? Animal Crossing is a popular life simulation game franchise that allows players to create their own virtual …
Read Article


