

How To Purchase Diamonds In Mobile Legends Using Stc - Step By Step Guide
How To Buy Diamonds In Mobile Legends Using Stc? Mobile Legends is one of the most popular mobile games today, with millions of players worldwide. One …
Read Article
Roblox is a popular online gaming platform that allows users to create and play their own virtual worlds. While the default gameplay experience on Roblox is in a public server with other players, you may want to create a private server for a more exclusive gaming experience. This guide will walk you through the steps of creating a private server on Roblox.
Step 1: Access the Roblox Website
To create a private server on Roblox, you first need to access the official Roblox website. Open your preferred web browser and go to www.roblox.com .
Step 2: Login to Your Roblox Account
If you already have a Roblox account, click on the “Login” button at the top right corner of the page and enter your login credentials. If you don’t have an account yet, click on the “Sign Up” button and follow the prompts to create a new account.
Step 3: Go to the “Create” Section
Once you are logged in, click on the “Create” button at the top of the page. This will take you to the Roblox Studio, where you can create and edit games and worlds.
Step 4: Create a New Game
In the Roblox Studio, click on the “New Game” button to create a new game. Give your game a name and choose a template to start with. You can customize your game further as you progress.
Step 5: Configure the Game Settings
Within the game editor, click on the “Game Settings” tab to configure the settings for your private server. Here, you can set the game to be private and choose who can join your server. You can also enable or disable certain features and adjust other gameplay settings.
Note: You may need to have a subscription to Roblox Premium or be a member of the Roblox Builders Club to access some advanced settings.
Step 6: Publish and Share Your Game
Once you are satisfied with the settings and customization of your private server, click on the “Publish to Roblox” button to make your game available to other players. You can then share the game link with your friends and invite them to join your private server.
Creating a private server on Roblox can offer a more intimate and controlled gaming experience for you and your friends. By following these simple steps, you can create and customize your own private server on Roblox, allowing you to have exclusive gaming sessions with your chosen players.
Welcome to the step-by-step guide on how to create a private server on Roblox. Creating a private server allows you and your friends to play together in a separate game instance, away from the public Roblox servers. Follow these simple steps to set up your own private server:
Congratulations! You have successfully set up your own private server on Roblox. Now you can enjoy playing with your friends in a more exclusive and controlled environment. Have fun!
Read Also: How to Buy Save the World Fortnite - A Step-by-Step Guide
Roblox is a popular online platform that allows users to create and play games with millions of other players. While playing games on the regular servers can be fun, creating your own private server can offer a more personalized and controlled experience. In this guide, we will walk you through the steps to create your own private server on Roblox.
The first step is to choose a game that you want to create a private server for. Roblox offers a wide range of games to choose from, so pick one that you enjoy playing and want to customize. Keep in mind that not all games on Roblox support private servers, so make sure to check if the game you want to play has this feature.
Once you have chosen a game, you will need to purchase a private server. Private servers in Roblox are called “VIP Servers” and can be bought using Robux, which is the in-game currency. Go to the game’s page and look for the “Server” tab. You will find an option to purchase a private server and set it up.
After purchasing a private server, you will be able to configure it according to your preferences. You can set the server name, customize the server settings, and decide who can join the server. This gives you control over the player limit, game mode, and other aspects of the game.
Read Also: Common Reasons Why Your Clash Royale Is Not Loading and How to Fix It
Once you have set up your private server, you can invite your friends to join and play with you. Share the server’s URL or invite code with your friends, and they will be able to join the server directly. This creates a more intimate and exclusive gaming experience for you and your friends.
As the owner of a private server, you have the ability to manage it. This includes kicking or banning players, changing server settings, and monitoring the server activity. You can make changes to the server as per your requirements and ensure a smooth gaming experience for everyone.
Creating your own private server on Roblox allows you to have more control and customization options while playing your favorite games. Whether you want a private space to play with friends or host exclusive events, private servers in Roblox are a great way to enhance your gaming experience.
Before creating a private server on Roblox, you’ll need to install Roblox Studio on your computer. Roblox Studio is a program that allows you to create and edit games on the Roblox platform.
To install Roblox Studio, follow these steps:
With Roblox Studio installed, you’re now ready to move on to the next step of creating a private server on Roblox.
In order to create a private server on Roblox, you will need to download and install Roblox Studio. Roblox Studio is a free software that allows you to create and design your own games and experiences on Roblox.
Here is a step-by-step guide on how to download and install Roblox Studio:
Now that you have Roblox Studio installed and set up on your computer, you are ready to start creating your private server on Roblox. The next step is to configure your game settings and invite your friends to join your private server.
To create a private server on Roblox, you need to set up a local server on your computer first. This will allow you to host your own games and have control over the game environment. Follow the steps below to set up a local server:
Once you have set up a local server and published your game, you can invite your friends to join your private server by sharing the game link or sending them an invitation through the Roblox platform.
A private server on Roblox is a separate virtual game world where you can play with a select group of friends instead of playing with random players from the public.
Yes, you can create a private server on Roblox for free. Roblox offers a feature called “VIP Servers” which allows you to create private servers for certain Roblox games for free or for a small fee.
To create a private server on Roblox, you need to follow these steps:
Yes, you can customize your private server on Roblox. As the server owner, you have the ability to change the server settings, such as the maximum number of players, the price of access, and the duration of the server. You can also control who can join your private server by sending out invitation links to your friends.
Not all games on Roblox support private servers, but many popular games do. Some examples of games that offer private servers include “Adopt Me!” , “Tower of Hell”, “Jailbreak”, and “Arsenal”. You can check the individual game’s page on the Roblox website to see if it supports private servers.
How To Buy Diamonds In Mobile Legends Using Stc? Mobile Legends is one of the most popular mobile games today, with millions of players worldwide. One …
Read Article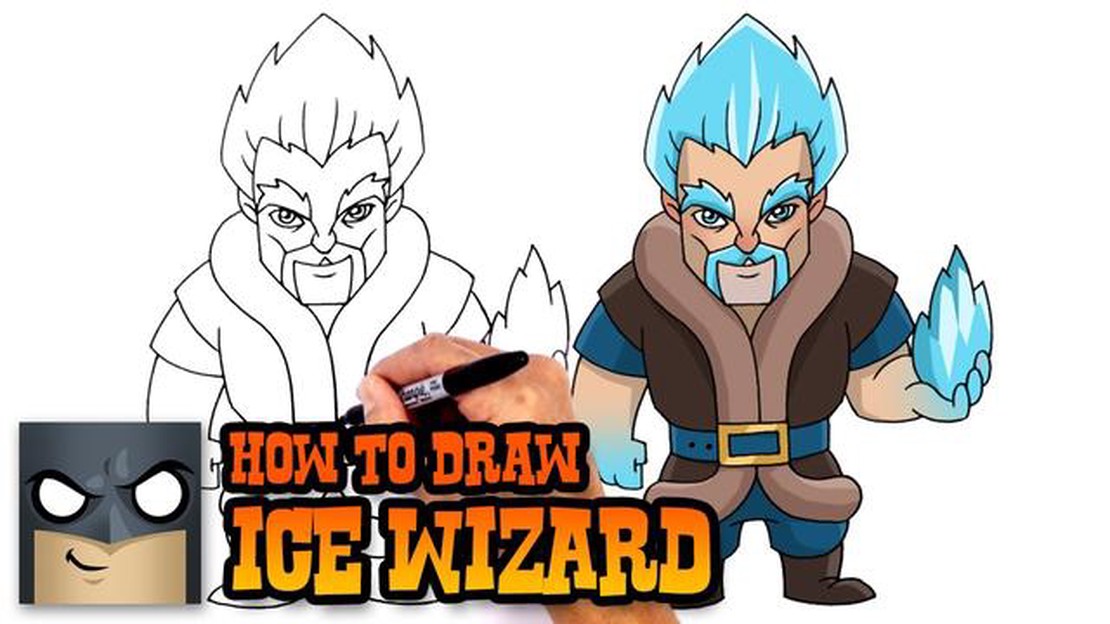
How To Draw Clash Royale Ice Wizard? In the popular mobile game Clash Royale, the Ice Wizard is a powerful troop card that can slow down and freeze …
Read Article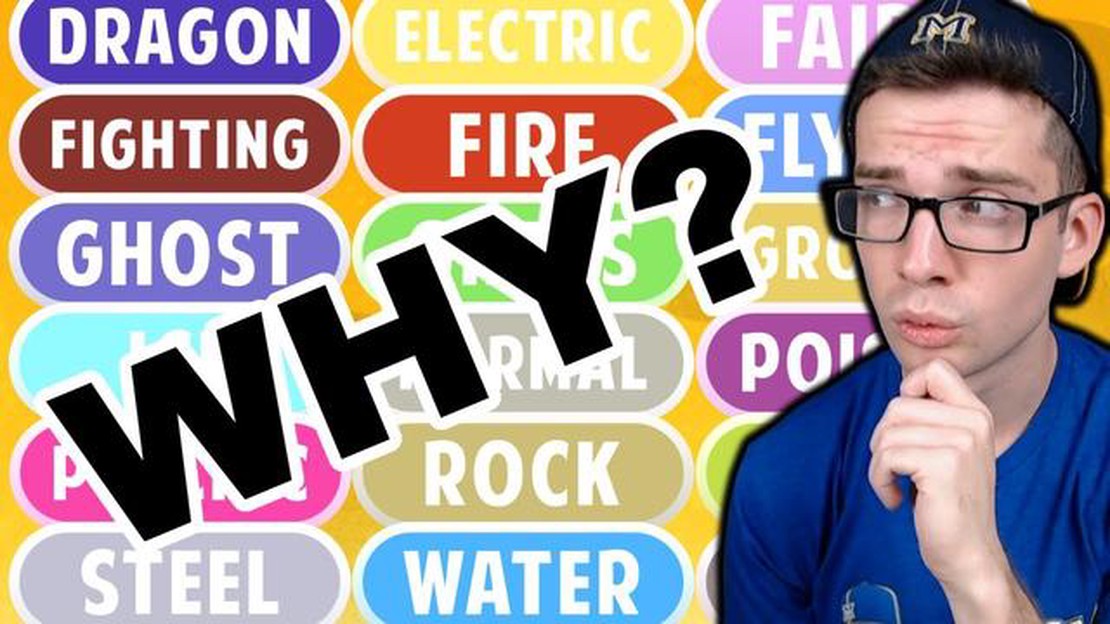
How Many Types Are There In Pokemon? Pokemon is a popular franchise that has captured the hearts of millions of fans around the world. One of the most …
Read Article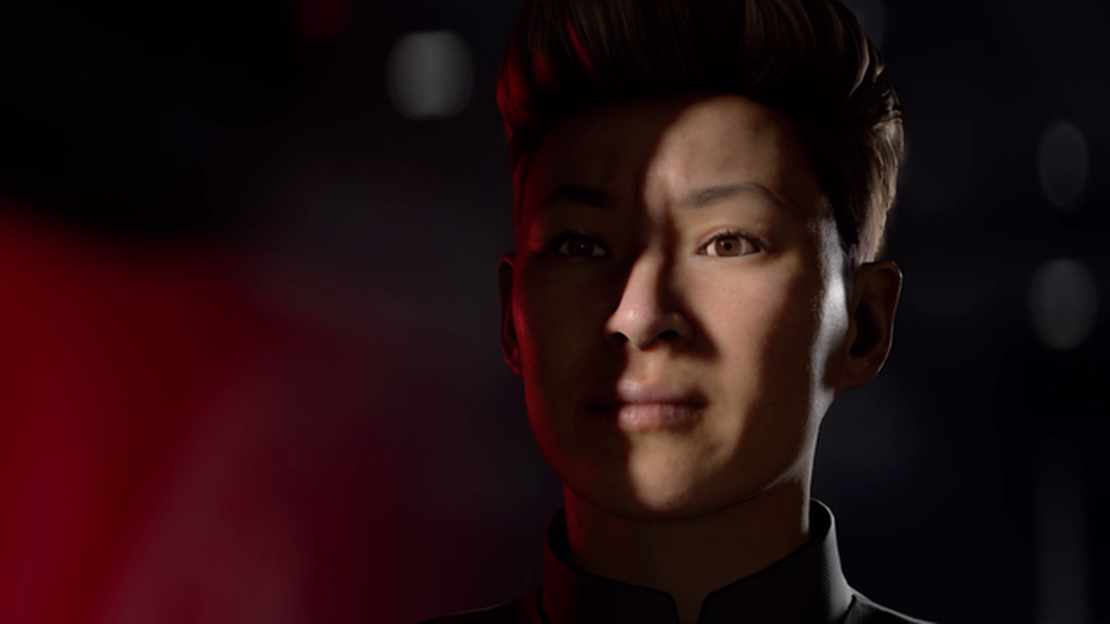
Star Wars: Squadrons review In a galaxy far, far away, the epic battles of the Star Wars universe are brought to life in a thrilling new video game …
Read Article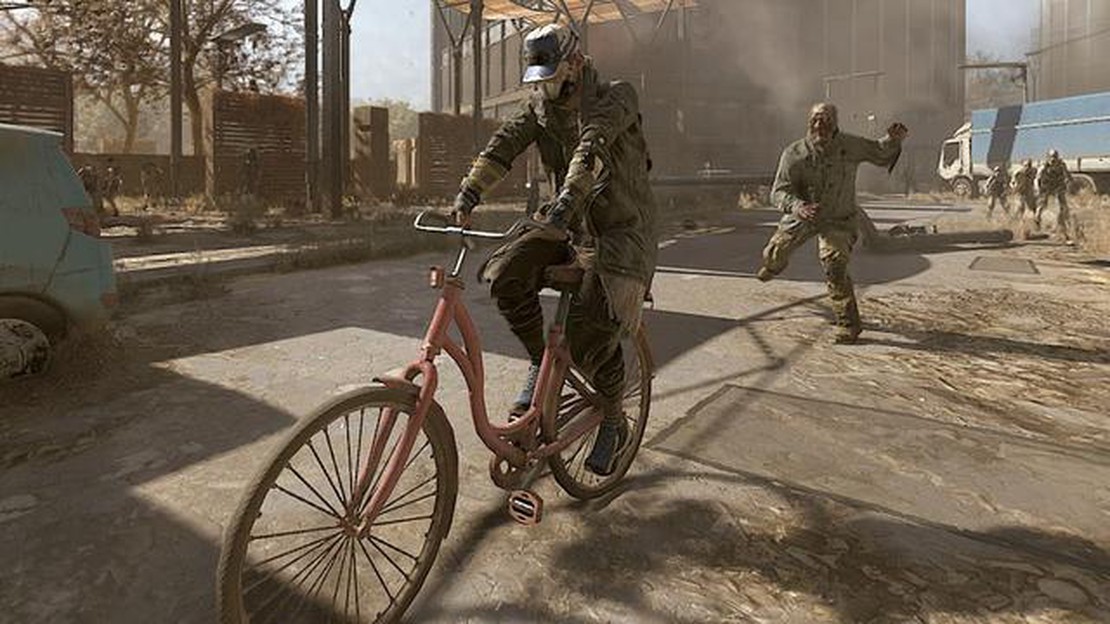
Dying Light 2 cheats: How to give yourself infinite money and every weapon Looking for an edge in Dying Light 2? Well, look no further! With our …
Read Article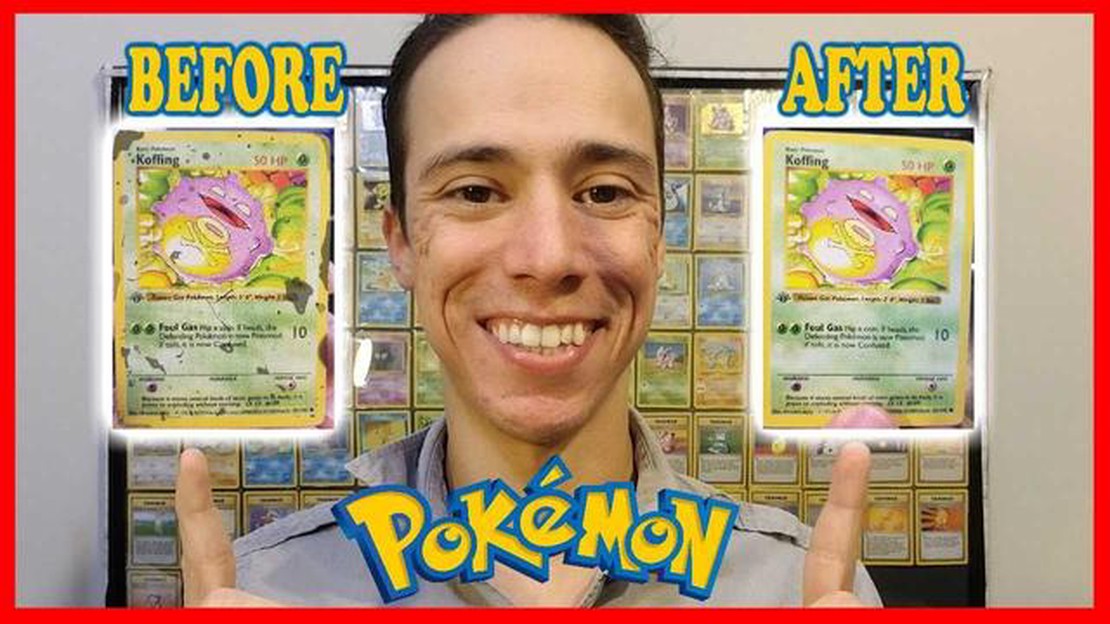
How To Clean Pokemon Cards? Keeping your Pokemon cards clean is essential to maintain their value and appearance. Whether you are a collector or a …
Read Article


