

The Long-Awaited Answers Revealed: Guild Wars 2 Expansion Set to Launch in August
The next Guild Wars 2 expansion releases this August, and will finally answer an 18-year-old mystery Exciting news for fans of the popular MMORPG, …
Read Article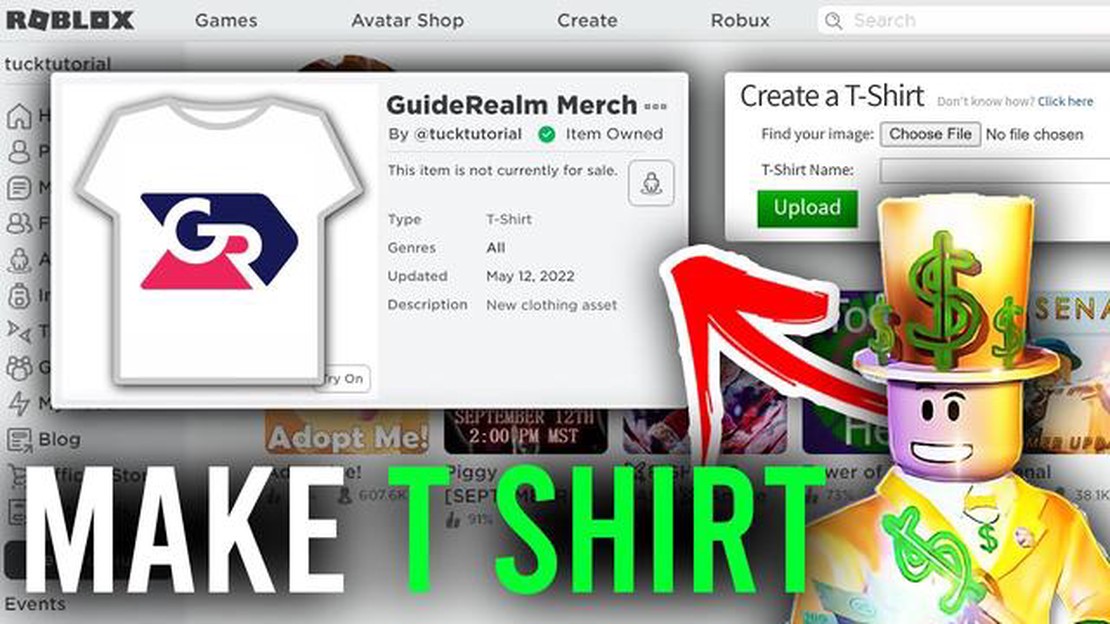
If you’re a Roblox player, you’ve probably seen other players wearing customized t-shirts with their own designs. Have you ever wondered how to make your own Roblox t-shirt? Well, look no further! In this step-by-step guide, we’ll walk you through the process of creating your very own unique Roblox t-shirt.
Step 1: Sign in to Your Roblox Account
The first step in making a Roblox t-shirt is to sign in to your Roblox account. If you don’t have an account, you’ll need to create one. Once you’re signed in, you’ll have access to the Roblox Studio, which is where you’ll be able to design your t-shirt.
Step 2: Open Roblox Studio
Once you’re signed in to your Roblox account, you’ll need to open the Roblox Studio. This is where you’ll be able to create your t-shirt design. The Roblox Studio is a powerful tool that allows you to bring your imagination to life and create your own games, clothing, and more.
Step 3: Create Your T-Shirt Design
Now that you have the Roblox Studio open, it’s time to start creating your t-shirt design. You can use the various tools and options available in the studio to customize your design. Whether you want to add a logo, a pattern, or simply change the colors of the t-shirt, the Roblox Studio has everything you need to bring your vision to life.
Tip: Take your time and experiment with different designs and options. Don’t be afraid to get creative and try something new!
Step 4: Save and Publish Your T-Shirt
Once you’re happy with your t-shirt design, it’s time to save and publish it. You can save your design as a Roblox asset and choose whether to make it public or private. If you make it public, other players will be able to purchase and wear your t-shirt in the Roblox game.
Remember: You can always go back and make changes to your t-shirt design later on. Don’t worry if you’re not 100% satisfied with your first attempt.
Read Also: Top 10 Best CPU Air Coolers for Efficient Cooling
That’s it! You’ve successfully created your own Roblox t-shirt. Now you can show off your unique design to other players and wear it proudly in the Roblox game. Enjoy!
When it comes to making a Roblox T-shirt, selecting the design is an important first step. The design will be the visual representation of your T-shirt and will determine how it looks when worn by Roblox users. Here are some tips to help you choose the perfect design:
Read Also: Mastering the Art of Using Cyclops in Mobile Legends: A Comprehensive Guide | [Website Name]
By following these tips, you’ll be able to select a design that is visually appealing and aligns with your vision for your Roblox T-shirt. Once you have a design in mind, you can move on to the next step in the process: creating the design in a graphic editing software.
Once you have your design ready, follow these steps to create your own custom t-shirt on Roblox:
Congratulations! You have successfully created your own custom t-shirt on Roblox. You can now wear it or share it with your friends. Remember to respect copyright rules and only upload original designs that you have created yourself.
After you have finished creating your Roblox t-shirt design, it’s time to upload it to the Roblox website and test it out. Follow these steps to get your t-shirt ready for uploading:
Congratulations! You have successfully uploaded and tested your Roblox t-shirt design. Now you can show off your creation to others while playing Roblox games!
Roblox is an online platform where users can create and play games, as well as design and sell virtual items, including t-shirts.
Making your own Roblox t-shirt allows you to express your creativity and personal style. You can design a t-shirt that represents your favorite game, character, or something unique to you.
To design a t-shirt on Roblox, you will need to have a Roblox account and access to the Roblox Studio. From there, you can use the built-in tools to create your design, including adding images, colors, and text.
Yes, there are guidelines that must be followed when creating a Roblox t-shirt. These guidelines include not using copyrighted or inappropriate content, ensuring the design fits within the specified dimensions, and adhering to the platform’s terms of service.
The next Guild Wars 2 expansion releases this August, and will finally answer an 18-year-old mystery Exciting news for fans of the popular MMORPG, …
Read Article
How To Buy Fortnite Accounts? Looking to level up your gaming experience in Fortnite? Need a new Fortnite account with rare skins and exclusive items? …
Read Article
Ori and the Blind Forest review Ori and the Blind Forest is a critically acclaimed platformer that takes players on a breathtaking journey through a …
Read Article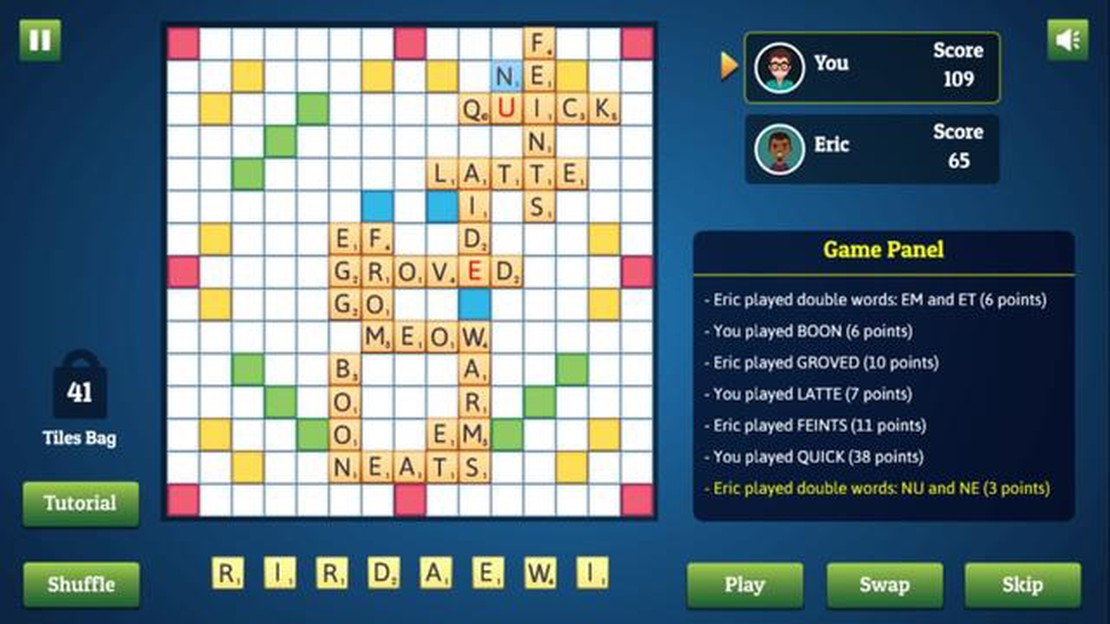
The best free word games on PC Word games are a fantastic way to challenge your mind and improve your vocabulary skills. Whether you’re a word …
Read Article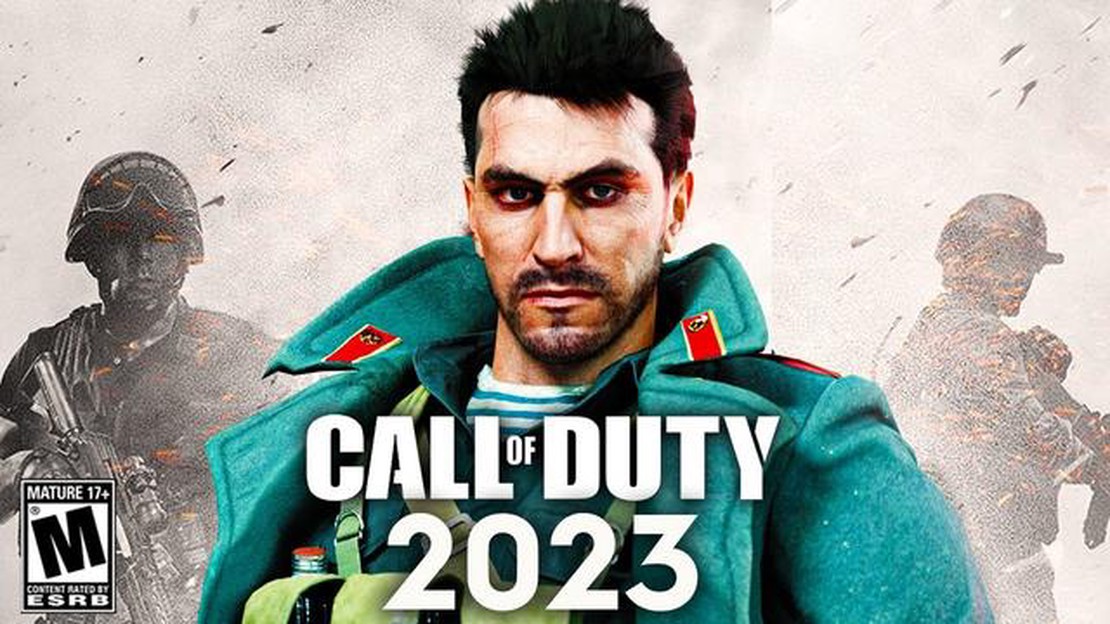
What Is The Latest Call Of Duty Game? If you are a fan of first-person shooter games, then you have probably heard of the Call of Duty franchise. From …
Read Article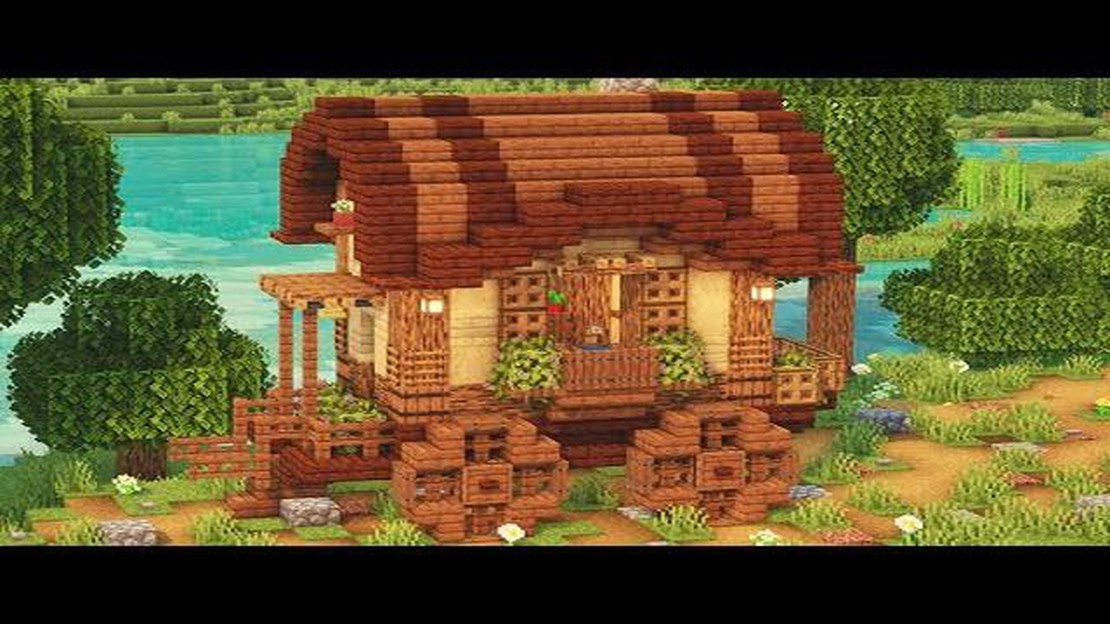
How to Make a Wagon in Minecraft Minecraft is a popular sandbox game that allows players to build and explore their own virtual worlds. One of the …
Read Article


