


Who Plays Mobile Legends: Demographics and Player Profiles
Who Plays Mobile Legends? Mobile Legends: Bang Bang is a popular multiplayer online battle arena (MOBA) game that has gained a massive following since …
Read Article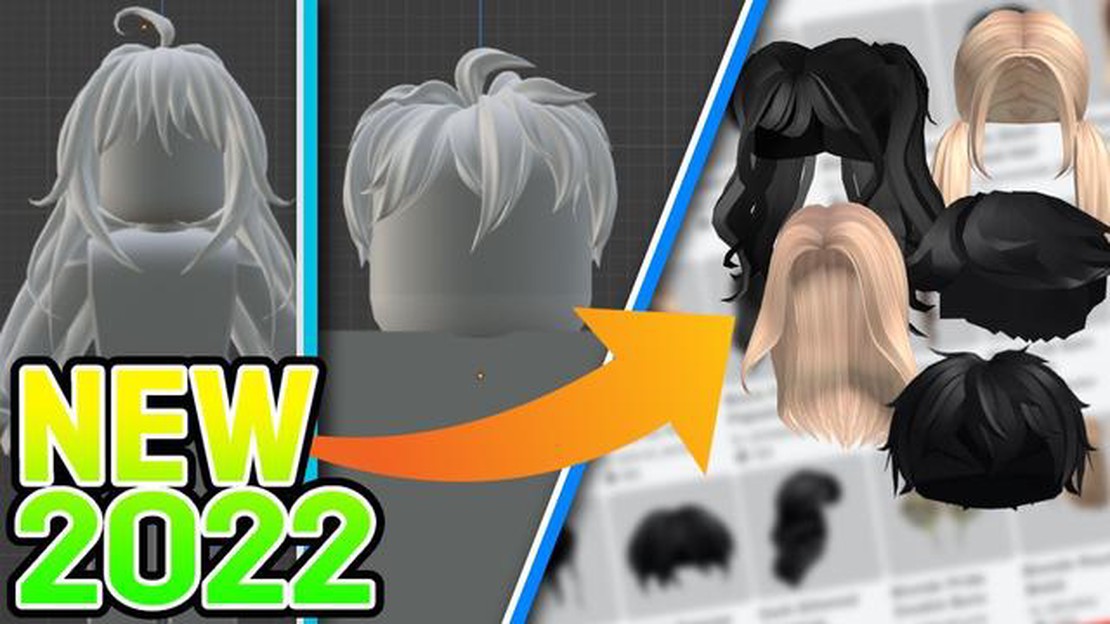
If you’re a fan of the popular online game Roblox, you may have noticed the wide variety of hairstyles available for your character. But what if you want to create your own unique hairstyle? In this tutorial, we’ll show you the easy steps to make your own Roblox hair.
Step 1: Design your hair. Start by brainstorming different ideas for your hairstyle. Consider the shape, length, and color of your hair. Do you want it to be short and spiky, or long and flowing? Will it be a natural color, or something more vibrant?
Step 2: Use a photo editing software. Once you have a clear vision of your hairstyle, it’s time to bring it to life. Use a photo editing software like Photoshop or GIMP to create a digital image of your hair. You can draw it from scratch or use existing hair as a base and modify it to suit your design.
Step 3: Upload your hair to Roblox. After you’re satisfied with your design, save it as an image file (such as a .png or .jpeg). Then, log in to your Roblox account and go to the Avatar section. From there, click on the “Create” button and select “Shirts” or “T-shirts” depending on the gender of your character.
Step 4: Customize your hair. On the next page, you’ll see a section for creating hair. Click on the “Choose File” button and select the image file you created in the previous step. Give your hair a name and description, and set a price if you want to sell it on the Roblox marketplace. Once you’re done, click on the “Upload” button to finalize your creation.
Step 5: Enjoy your new hair! Once your hair is uploaded, you can equip it to your Roblox character and show off your unique style to other players. You can also share your creation with friends or even sell it to other Roblox players. Creating your own Roblox hair is a fun and creative way to personalize your gaming experience.
The first step in creating your own Roblox hair is to choose a template. Roblox provides a variety of hair templates that you can use as a starting point for your design. These templates come in different styles, lengths, and colors.
To choose a template, go to the Roblox website and navigate to the “Create” section. From there, click on the “Shirts, Pants, and More” tab and select “Hair” from the dropdown menu. This will take you to the Roblox hair catalog where you can browse through the available templates.
When choosing a template, consider the style you want to achieve. Do you want a short hairstyle or a long flowing mane? Are you looking for something edgy, cute, or elegant? Take your time to explore the different options and find a template that matches your vision.
Once you have chosen a template, click on it to open the item’s page. Here, you can view the template from different angles and read a description. It’s also a good idea to take note of the template’s unique ID, as you will need it later in the hair creation process.
Keep in mind that the template you choose will serve as a base for your hair design. You will be able to modify and customize it in the following steps, so don’t worry if it’s not a perfect match for your desired hairstyle. The template is just a starting point.
Pro tip: If you can’t find a template that fits your needs, you can also create your own template from scratch using Roblox Studio, a powerful tool that allows you to build and design your own Roblox creations.
Read Also: Where to Find Dandelions in Genshin Impact | Best Locations and Farming Tips
After choosing a template, you are ready to move on to the next step: Gather Inspiration. This step will help you come up with ideas for your hair design and make it truly unique.
Once you have decided on the general shape and style for your Roblox hair, it’s time to customize the design and add some unique details. This is where you can let your creativity shine and make your hair truly one-of-a-kind!
Read Also: Streets of Rogue Review: A Deep Dive into this Action-Packed Indie Game
Here are some tips to help you customize the design:
Remember, the design possibilities are endless, so don’t be afraid to get creative and try out different ideas. You can always make adjustments and modifications to your design until you are happy with the final result.
Once you have finalized the design, it’s time to move on to the next step: creating the texture for your Roblox hair.
Once you have finished creating your Roblox hair, it’s time to upload it to the Roblox website and test it in the game. Here’s how to do it:
Congratulations! You have successfully created your own Roblox hair and tested it in the game. Now you can show off your unique hair to other players and create different styles to match your personality.
Roblox is an online platform where users can create and play games.
Yes, you can create your own hair in Roblox by following a few easy steps.
To start creating your own Roblox hair, you need to have the Roblox Studio installed on your computer. Then, you can follow the step-by-step tutorial provided in the article.
No, you don’t need any coding skills to create your own Roblox hair. The tutorial provided in the article is beginner-friendly and only requires basic knowledge of the Roblox Studio interface.
Yes, you can sell the hair you create in Roblox on the Roblox marketplace. However, you need to have a premium membership and meet certain requirements set by Roblox.
Who Plays Mobile Legends? Mobile Legends: Bang Bang is a popular multiplayer online battle arena (MOBA) game that has gained a massive following since …
Read Article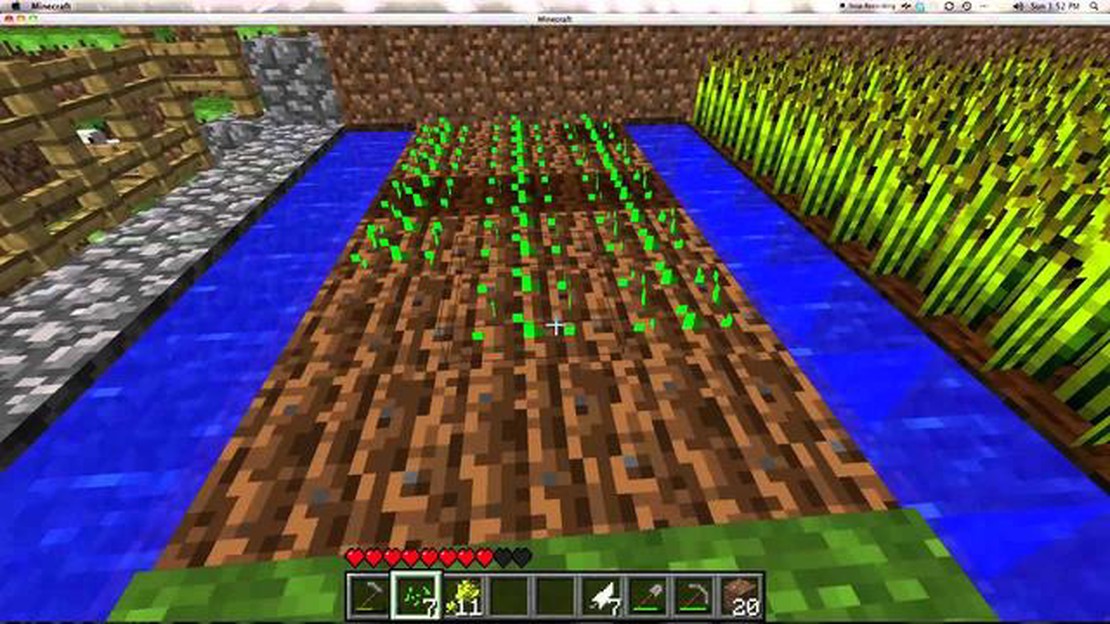
How To Plant Wheat In Minecraft? Wheat is an essential crop in Minecraft as it can be used to make bread, one of the most basic and important food …
Read Article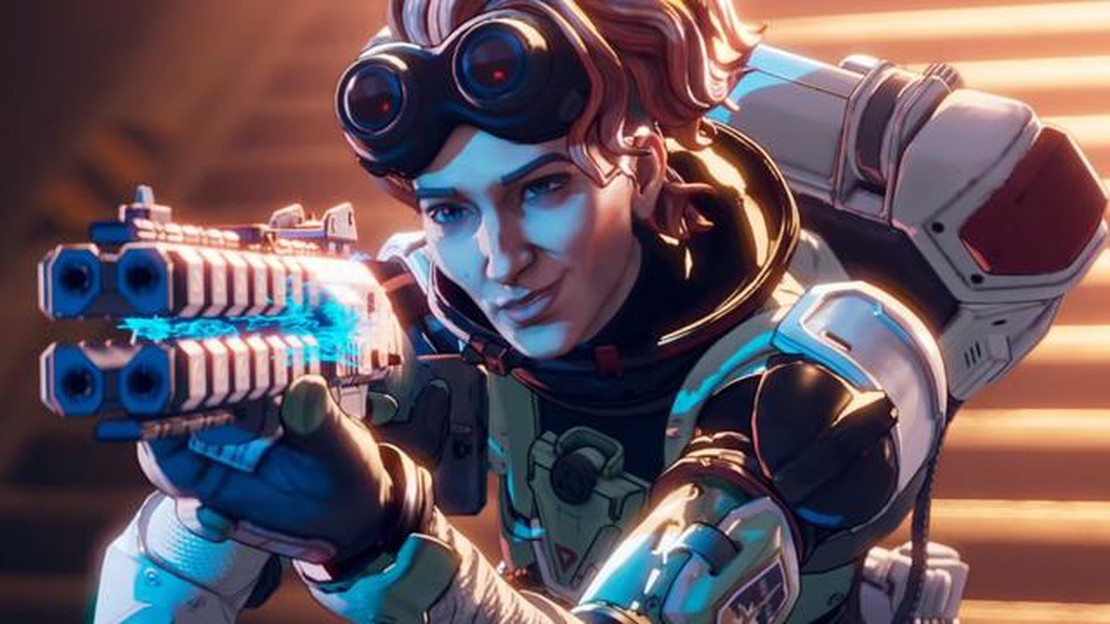
Apex Legends dev boldly declares that ‘queue times are too short,’ but let’s hear them out The developers of Apex Legends have recently acknowledged …
Read Article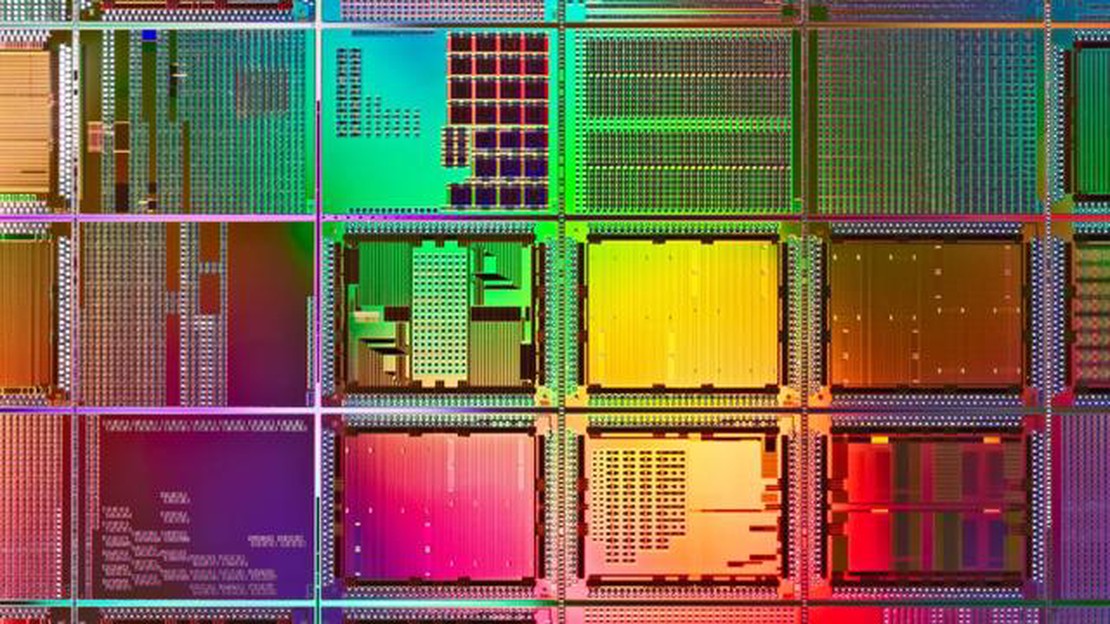
Intel says there will be one trillion transistors on chips by 2030 Intel, the leading manufacturer of computer chips, has recently announced its …
Read Article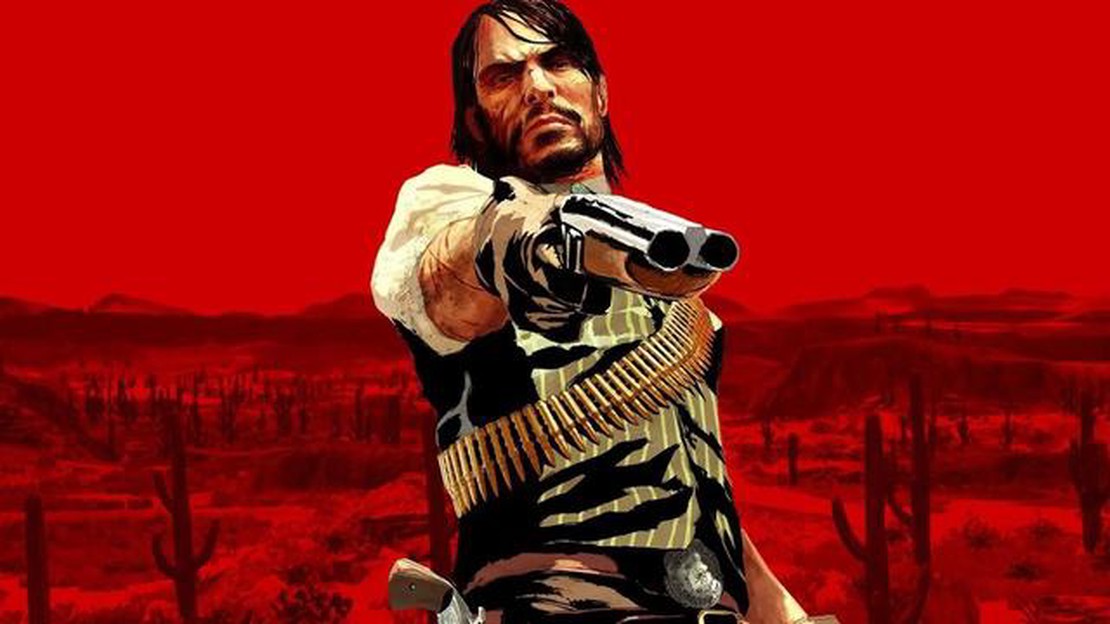
Rockstar snubs PC with baffling Red Dead Redemption 1 port that’s only coming to Switch and PS4 In a surprising move, Rockstar Games has announced a …
Read Article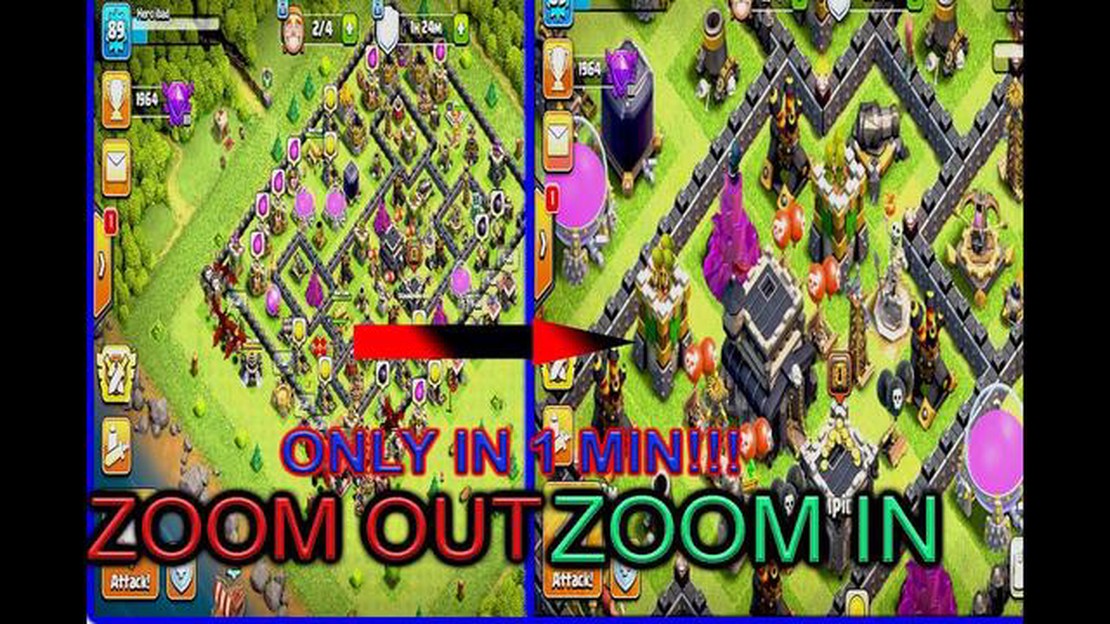
How To Zoom Out In Clash Of Clans Bluestacks? Clash of Clans is a popular mobile strategy game where players build and defend their villages from …
Read Article


