


Guide: How to Play Call of Duty on Mac - Step-by-Step Tutorial
How To Play Call Of Duty On Mac? Welcome to our step-by-step tutorial on how to play Call of Duty on a Mac! With the popularity of the Call of Duty …
Read Article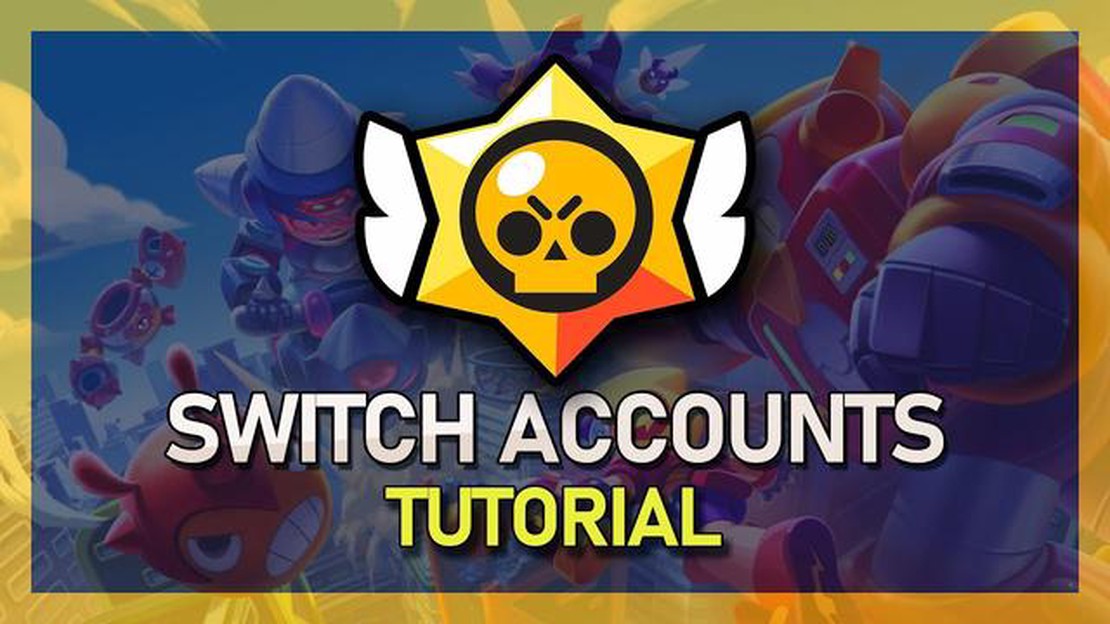
If you’re an avid Brawl Stars player, you may have multiple accounts to level up your skills and try out different strategies. Switching between these accounts can be a bit tricky if you’re not familiar with the process, but fear not! We’ve got you covered with this step-by-step guide on how to switch accounts in Brawl Stars.
Step 1: Open the Brawl Stars app on your device and make sure you’re logged into your current account. If you’re not, sign in with your existing account credentials.
Step 2: Once you’re in the game, tap on your profile picture in the top-left corner of the screen. This will open up your player profile.
Step 3: In the player profile, you’ll see a settings icon in the top-right corner. Tap on it to open the settings menu.
Step 4: Scroll down in the settings menu until you find the “Supercell ID” option. Tap on it to proceed.
Step 5: If you have already created a Supercell ID, you can log in with your existing credentials. If not, select the “Create Supercell ID” option.
Step 6: Follow the on-screen prompts to create a new Supercell ID or log in with your existing one. Make sure to select the account you want to switch to.
Step 7: Once you’ve logged in with your desired account, you can start playing with that account. To switch back to your original account, simply repeat the steps and log in with your original Supercell ID.
Switching accounts in Brawl Stars is a simple and easy process once you know how. By following these step-by-step instructions, you’ll be able to switch between your accounts and enjoy all the different gameplay experiences that Brawl Stars has to offer. So go ahead and start experimenting with different strategies and see which account brings you the most success!
Read Also: Understanding Error Code 279: A Guide to Roblox Issues
If you have multiple accounts in Brawl Stars and want to switch between them, you’re in luck! Brawl Stars offers a handy account switching feature that allows you to easily switch between different accounts without any hassle. Follow these steps to switch accounts in Brawl Stars:
Note that switching accounts will disconnect you from your current account and all progress associated with it. Make sure to save your progress before switching accounts to avoid losing any data.
Read Also: Discovering the Creators Behind Call of Duty: Unveiling the Masterminds
Now that you know how to switch accounts in Brawl Stars, you can easily access different accounts and enjoy the game from multiple perspectives. Have fun!
Switching accounts in Brawl Stars is a simple process that can be done within the game settings. To access the account switcher, follow the steps below:
Once you are on the home screen, you can follow the same steps to access the account switcher and log in with a different account. It’s important to note that you can only switch between accounts that are linked to a Supercell ID.
By following these steps, you can easily switch between multiple accounts in Brawl Stars and enjoy playing the game with different progress and achievements. Keep in mind that each account will have its own separate game data and progress, so be careful not to overwrite or delete any important data while switching accounts.
In Brawl Stars, you have the ability to switch between multiple accounts. This can be useful if you have multiple game progressions or want to play with different groups of friends. Here is a step-by-step guide on how to switch between accounts in Brawl Stars:
That’s it! You have successfully switched between accounts in Brawl Stars. Repeat the above steps whenever you want to switch to a different account.
Note: Make sure to remember the passwords for your linked accounts, as you will need them to switch accounts in Brawl Stars.
No, it is not possible to switch accounts in Brawl Stars without Supercell ID. Supercell ID is a feature within the game that allows players to create and link multiple accounts to a single device. If you have not set up Supercell ID for your accounts, you will not be able to switch between them. It is recommended to set up Supercell ID to easily switch between accounts and to secure your progress.
How To Play Call Of Duty On Mac? Welcome to our step-by-step tutorial on how to play Call of Duty on a Mac! With the popularity of the Call of Duty …
Read Article
How to harness The Watcher’s power in Slay The Spire The Watcher is one of the four playable characters in the popular card game Slay The Spire. With …
Read Article
ASRock confirms key Intel 14th Gen Raptor Lake refresh details and gives some performance info too ASRock, a well-known motherboard manufacturer, has …
Read Article
How To Create Group In Coin Master Free Spins? If you’re a fan of the popular mobile game Coin Master and want to take your gaming experience to the …
Read Article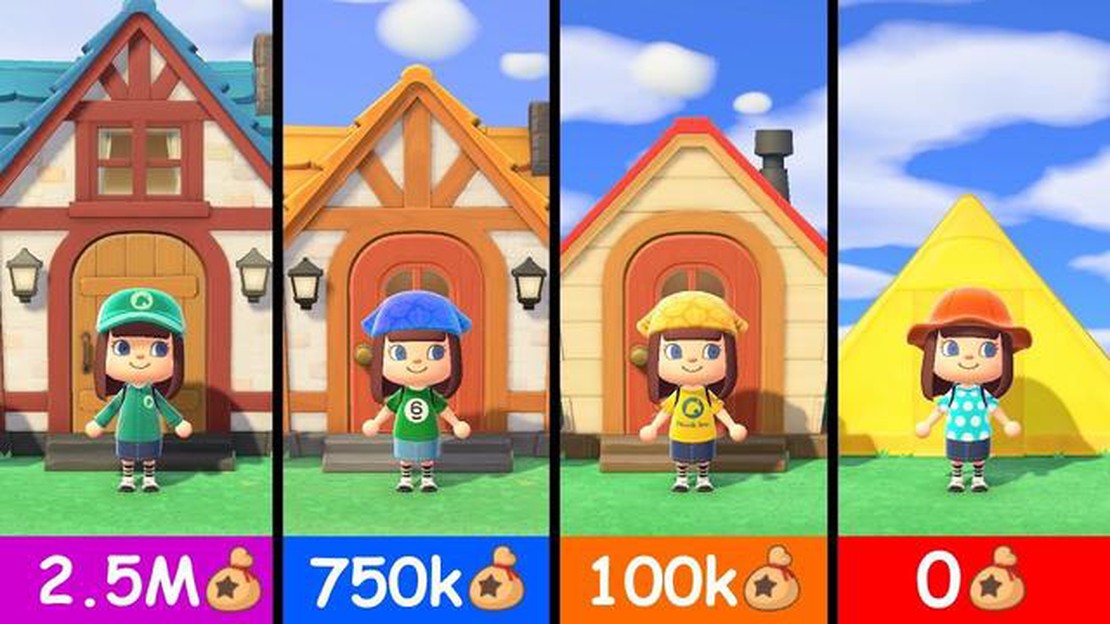
How To Upgrade House In Animal Crossing? If you’re a fan of Animal Crossing, you know that one of the most exciting aspects of the game is customizing …
Read Article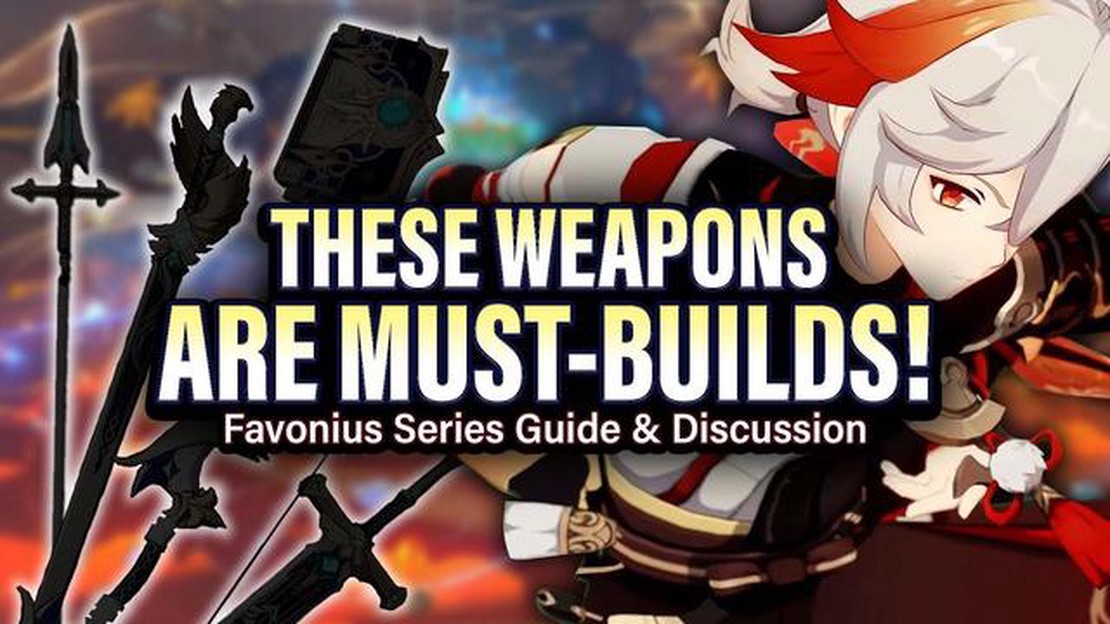
Great Sword of Favonius Genshin Impact Are you ready to take on the challenges of Teyvat? Upgrade your arsenal with the Great Sword of Favonius in …
Read Article


