

Learn How To Breed Horses in Minecraft | Guide and Tips
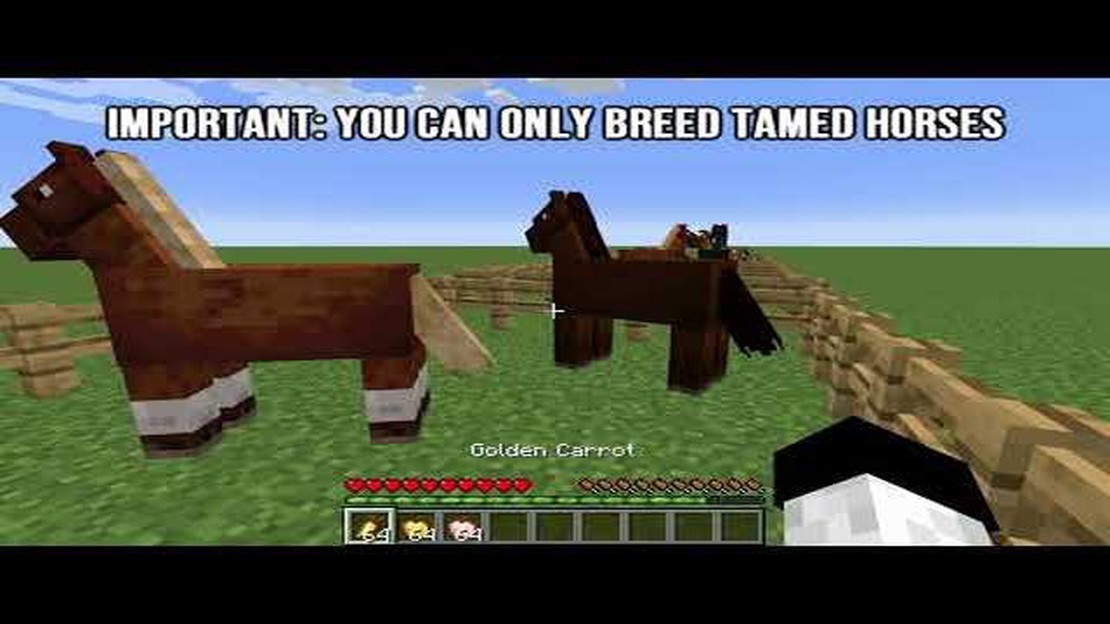
How To Breed Horses In Minecraft? Minecraft is a popular sandbox game that allows players to explore and create their own virtual worlds. One of the …
Read Article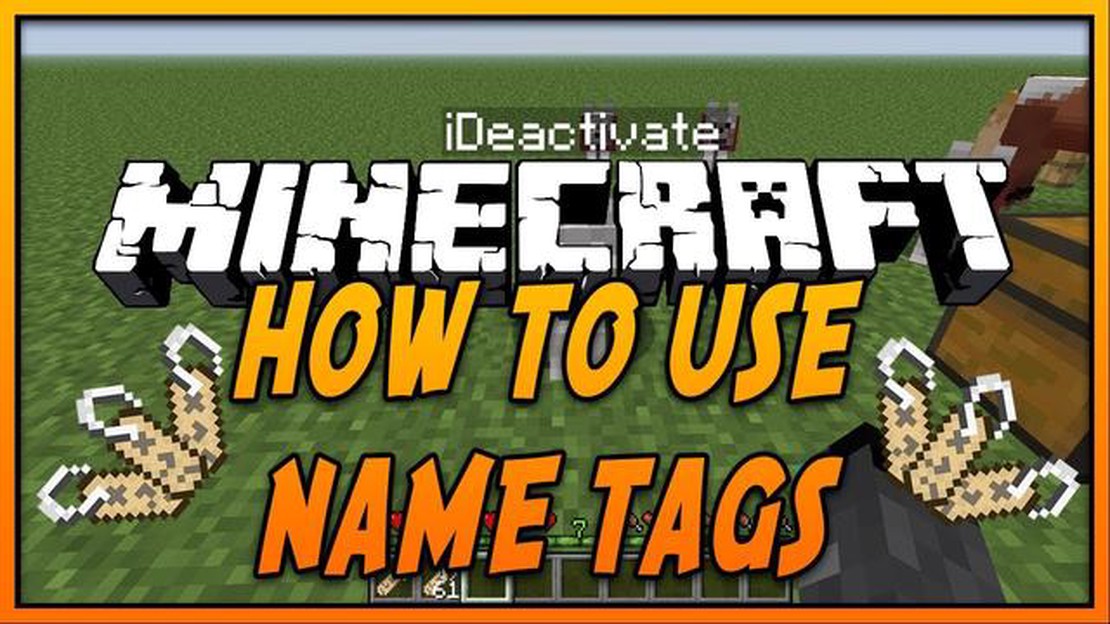
If you’ve ever wanted to personalize and name your pets or mobs in Minecraft, the name tag item is a perfect solution. With a name tag, you can give your beloved horse a unique name, or even assign a special name to a zombie or Creeper. In this step-by-step guide, we will show you how to use a name tag in Minecraft.
Step 1: Crafting the Name Tag
Before you can start using name tags, you’ll need to craft them. The recipe for a name tag is simple: place one paper in the middle row of the crafting table and two string below it. This will create three name tags, which you can then use to rename different entities in the game.
Step 2: Naming the Name Tag
Once you have a name tag in your inventory, right-click it to open the naming interface. Here, you can enter the desired name for the name tag. Keep in mind that there is a character limit of 35, so choose your name wisely. Once you’ve entered the name, click “Done” to finalize the name tag’s new identity.
Step 3: Applying the Name Tag
Now that you have a named name tag, you can apply it to the entity of your choice. Simply right-click on the desired entity while holding the name tag in your hand. A text box will appear above the entity, displaying its new name. The name will also be visible if you hover your cursor over the entity. Congratulations, you’ve successfully used a name tag in Minecraft!
Pro tip: Name tags can also be used to keep track of multiple animals of the same type. By giving each animal a unique name, you can easily identify and differentiate them.
Using name tags in Minecraft can add an extra layer of personalization to your gameplay. Whether you’re naming your pet or marking your enemies, this item is a versatile tool that allows you to leave your mark in the world of Minecraft.
In Minecraft, name tags are items that allow players to rename and customize various entities in the game. Whether it’s naming your pet dog or labeling a mob, name tags are a useful tool to personalize your gameplay. Here’s a step-by-step guide on how to use name tags in Minecraft:
And that’s it! You have successfully used a name tag in Minecraft to rename an entity. Remember that some entities may not be able to have their names changed, such as boss mobs or certain types of animals. Additionally, it’s important to note that using a name tag on an entity will prevent it from despawning naturally, so be mindful of this when using name tags on passive mobs or animals.
Have fun customizing and personalizing your Minecraft experience with name tags!
In order to use a name tag in Minecraft, you need to first craft it. Here is the step-by-step guide on how to do it:
Read Also: Learn How to Earn Real Money From Coin Master4. Open the crafting table: To open the crafting table, right-click on it. If you don’t have a crafting table yet, you can craft one using 4 wooden planks.
5. Place the materials in the crafting grid: In the crafting table, place the iron ingot in the center slot of the grid. Surround the iron ingot with the 4 strings, placing one in each corner of the grid.
Read Also: Beginner’s Guide: How to Minecraft Like a Pro
| S | ||
| S | I | S |
| S |
I: Iron Ingot
S: String
Congratulations! You have now successfully crafted a name tag in Minecraft.
Using a name tag on a mob in Minecraft allows you to give the mob a custom name, which can be useful for identification purposes or for adding a personal touch to your world. Here is a step-by-step guide on how to use a name tag on a mob:
It is important to note that not all mobs can be named using a name tag. Some mobs, such as spiders or creepers, cannot be named directly. However, named name tags can be used to name a mob’s spawn egg before it is spawned.
Using name tags on mobs can be a fun and creative way to personalize your Minecraft experience. Whether you want to give your pets unique names or create named mobs for a specific purpose, the name tag feature offers endless possibilities.
A name tag in Minecraft is an item that allows players to name and rename different mobs and creatures in the game.
You can get a name tag in Minecraft by either finding it in dungeon chests, through fishing, or by trading with villagers.
You can use a name tag in Minecraft to name and rename mobs, which allows you to easily identify and keep track of them.
To use a name tag in Minecraft, simply right-click on an anvil to open the renaming interface, place the name tag in the first slot, and enter the desired name in the text box. Then, collect the renamed name tag and right-click on the mob you want to name. The name will appear above the mob.
Yes, you can change the name on a name tag in Minecraft. Simply follow the steps mentioned earlier to use an anvil and rename the name tag with the desired name.
How To Breed Horses In Minecraft? Minecraft is a popular sandbox game that allows players to explore and create their own virtual worlds. One of the …
Read Article
How to clean your mouse pad without destroying it Keeping your mouse pad clean is important for its longevity and performance. Over time, dust, dirt, …
Read Article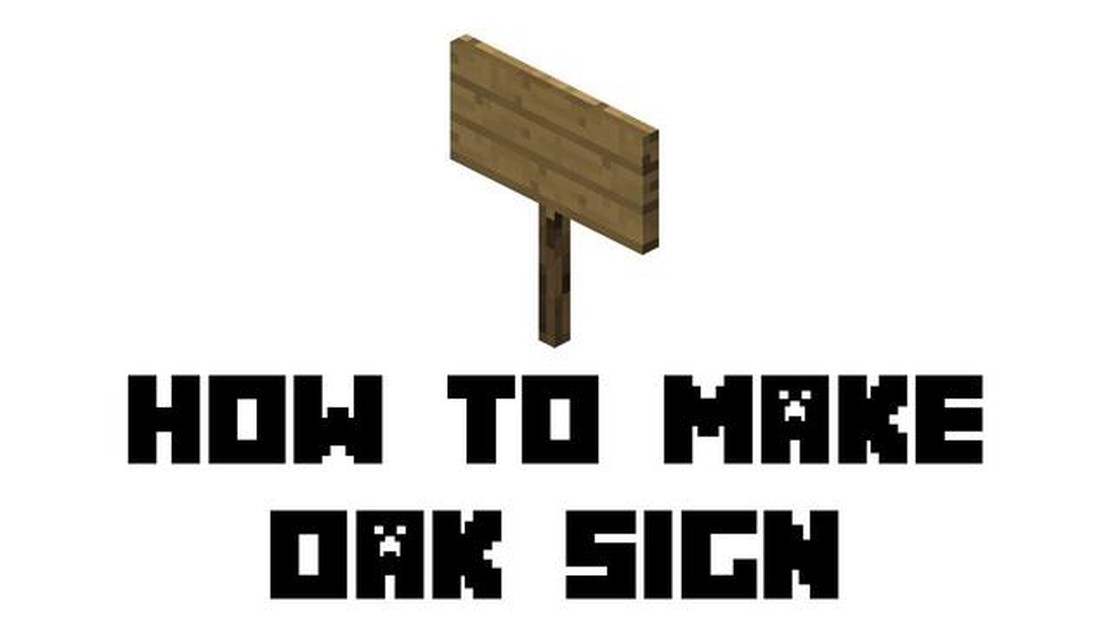
How To Make A Sign In Minecraft? Creating signs in Minecraft is an essential skill that can be useful in many situations. Whether you want to label …
Read Article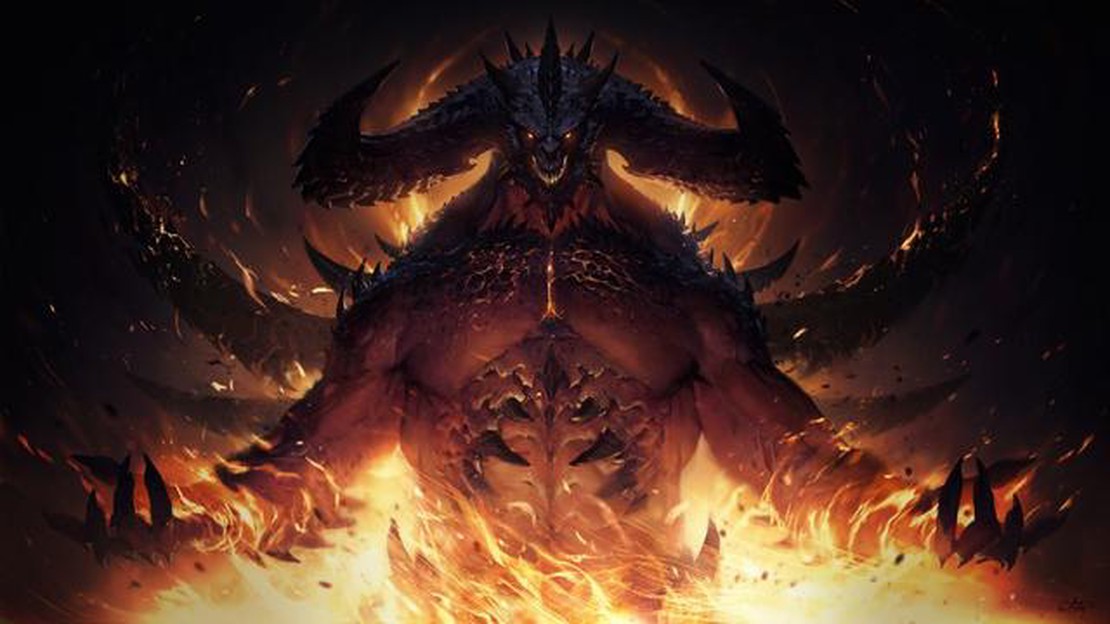
Here’s when Diablo Immortal unlocks in your timezone Exciting news for fans of the Diablo series! The highly anticipated mobile game, Diablo Immortal, …
Read Article
The best space games on PC Space has always captivated the human imagination, and PC games have given us the opportunity to explore the vastness of …
Read Article
How Many People Can Play Among Us? How Many People Can Play Among Us? Among Us is a popular online multiplayer game that has taken the world by storm. …
Read Article


